Rooster Processing
Here is the requested blog post on how we culled and processed our roosters this past weekend! *Warning, there are some mildly graphic images posted of the meat, blood, and processing.*
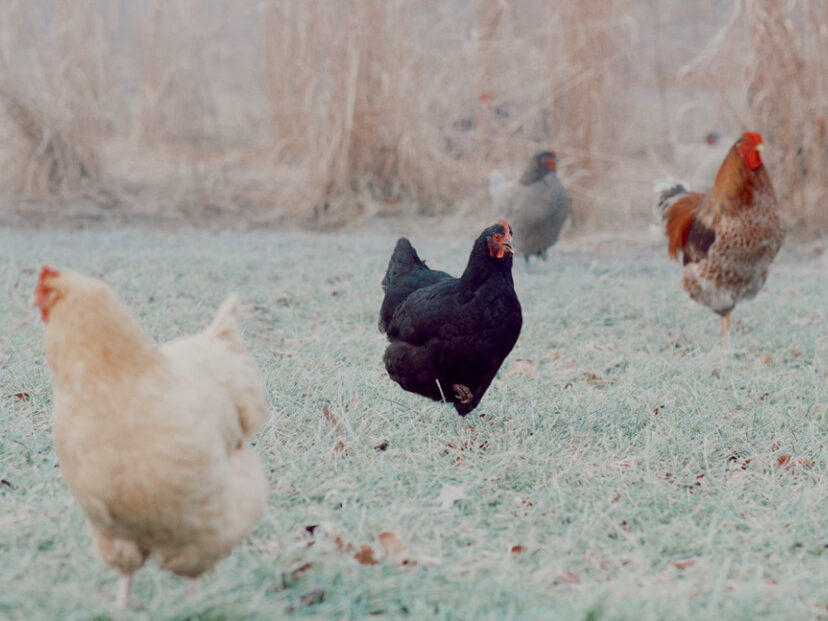
Anyone who raises chickens knows that hatching sweet baby chicks is such an awesome experience for the family, and for kids, and it’s one of the best ways to add new layers to your flock, without having to go through hoops to introduce them to the existing flock. Mama’s keep the eggs warm, they hatch the babies, and then take care of them, protect them and they are usually accepted seamlessly into the existing flock this way.
BUT the negative to this, is you inevitably will end up with more roosters than is healthy for your flock and your hens. Last year, I tried to give away a good number of roosters, and it took a long time for anyone to want them or come and get them…. And in the meantime, 90% of my hens ended up with bare backs, which carried into summer. We were having to apply ointments and treatments to them, as their skin was exposed and getting sunburnt, and torn from the constant barrage of the roosters. We almost lost a hen due to all of this, and the girls were not able to show any of the chickens in their 4-H fair, because they all looked awful. Their feathers FINALLY grew back in the fall time during their normal molt season, but I vowed this would not happen again.
Fast forward to current times, and we once again had more roosters than the flock could handle from the roosters that were born the past spring, who were now old enough to fertilize the hens. I posted that I had more roosters that I needed to get rid of, and talked to a few friends that had expressed interest, but none of them came through.
My husband and I had talked about butchering them, and eating some of the meat, as a better option than just putting them down, so that’s what we decided to do!
I had seen some accounts on Youtube who use cones to kill their poultry in a very humane way, and being a kosher family, I also realized it was a very kosher way to kill the birds. The concept is that you put the roosters upside down into this cone to where their neck sticks out, and you just sever their main artery in their neck and they bleed out very quickly. There is minimal trauma to the chicken, as they pass out within seconds, and it allows them to completely bleed out, rather than having blood pool in their body which will happen if you just sever their heads and allow them to “flop” around the yard.

I didn’t have any of these cones, so I had seen some other accounts use gallon jugs like bleach or milk jugs. I decided to go this route instead, and I will say that I do NOT recommend that. It didn’t work at all for us, so we used another method on the fly, that actually worked really well and is super simple. However, in the future, I think I will invest in some of the official cones to make everything much simpler and more seamless.
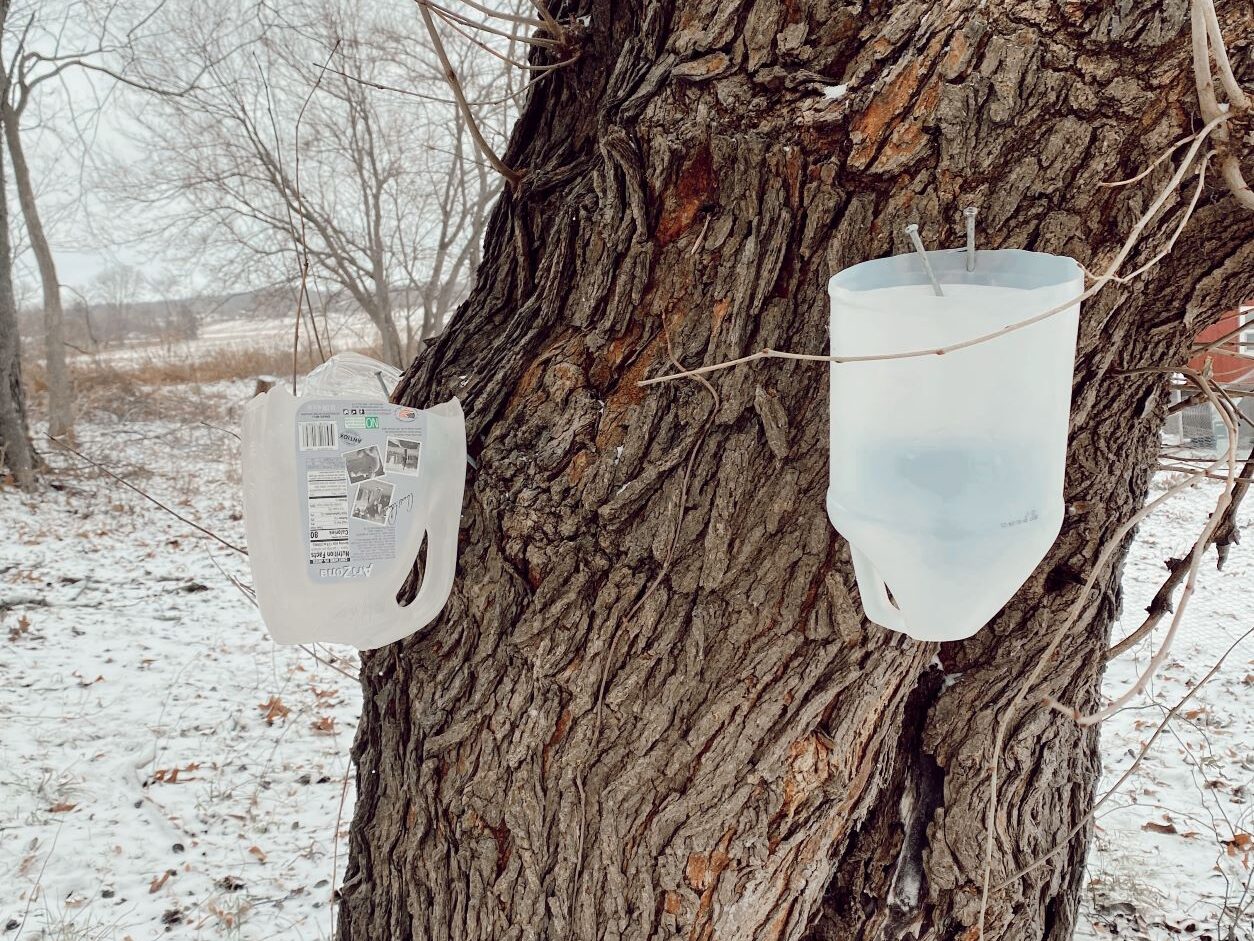
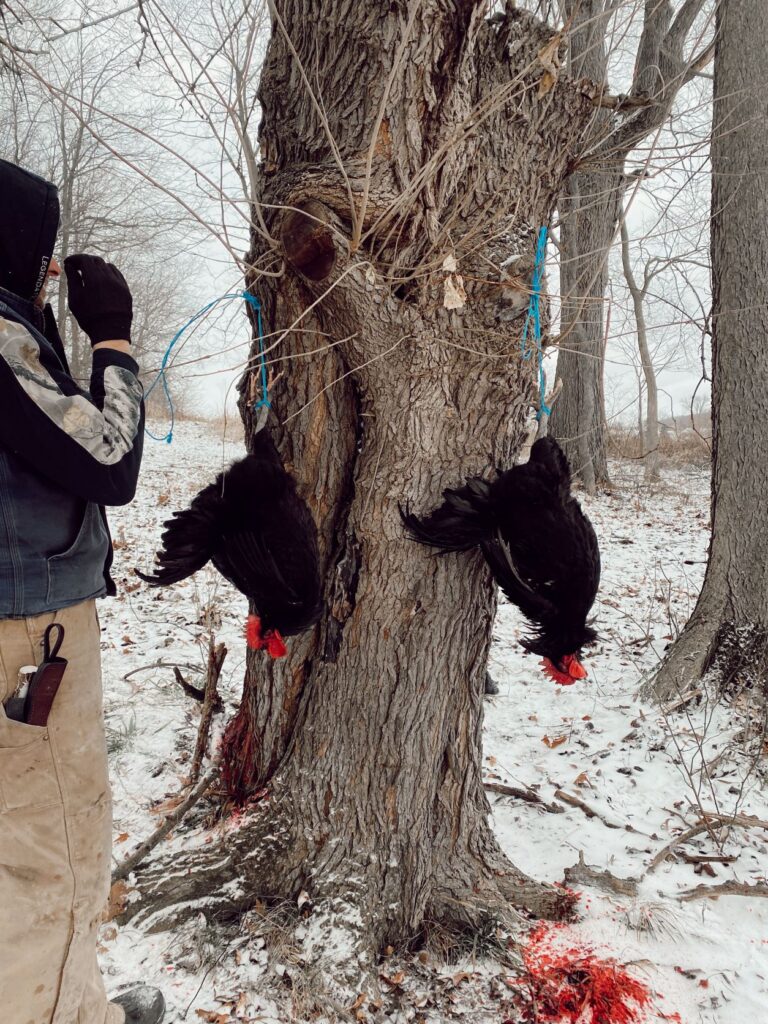
This is the setup that we used with the jugs. We nailed them to the tree, but it was so cold outside that the plastic was cracking. We were afraid that the plastic would crack, and that’s what ended up happening. The shorter jugs also didn’t contain all of the body, so the first rooster was pushing his way out, AFTER we had severed his artery, and he ended up on the ground before he had fully bled out. It was a complete failure. My husband had some twine, so what we did next was we used the twine in a slip knot around the rooster’s feet and hung them upside down. This actually worked really well. They did flop around, which a cone would have contained much better, but it was very quick, and they were completely bled out within about a minute.

After this, we took them one by one, and instead of doing the whole scalding, de-feathering, gutting technique, we went with a very simple skinning and fileting. this does waste the carcass and the skin, so if you want the whole bird, this isn’t the method for you. However, if you just have a few birds like us that you’re culling it’s very fast and efficient, and you don’t have to have any special equipment at all.

Most people told us that the meat would be almost inedible because of how tough these older roosters would be, but I prepared them a certain way that I’ll talk about below, and we found that the meat was actually quite good. A little more tough than store bought hens, but definitely was still good and very edible!
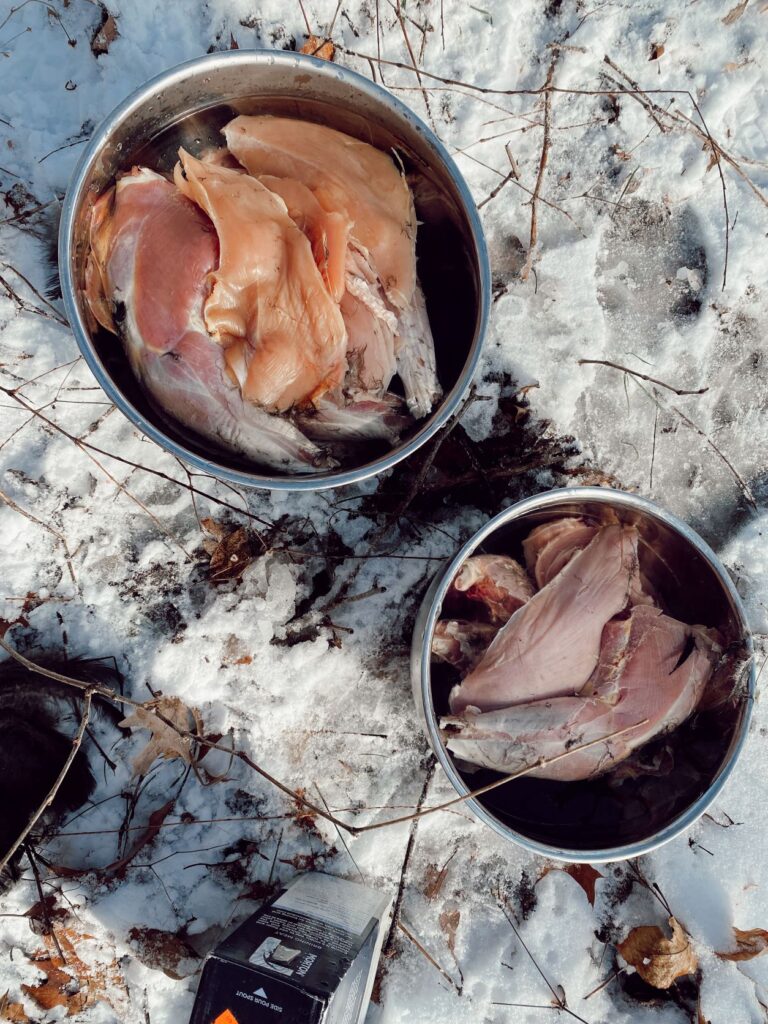
So back to the fileting, we just took the birds, turned them onto their backs, pulled their skin up, and started cutting the skin back, feathers and all. The tutorial I had seen previously where they did this, they pulled the skin all the way back to the rear vent area, and then cut the thigh quarters and breasts off. My husband didn’t want to do that, so he just cut the skin back from the thighs/legs and disconnected the connective tissue and tendons to release the thigh. You will have to use bone type cutters to cut the wing bones from the body, and also the feet at the knees. After cutting the leg quarters, we moved up to the breasts and cut the breasts from each side off of the carcass. Also, be careful when you’re doing all of this to not puncture the carcass and release any of the interior juices, or especially any of the rear part of the chicken where they defecate. You don’t want any of that in your meat. I recommend using a very sharp filet and or skinning knife to do all of this.
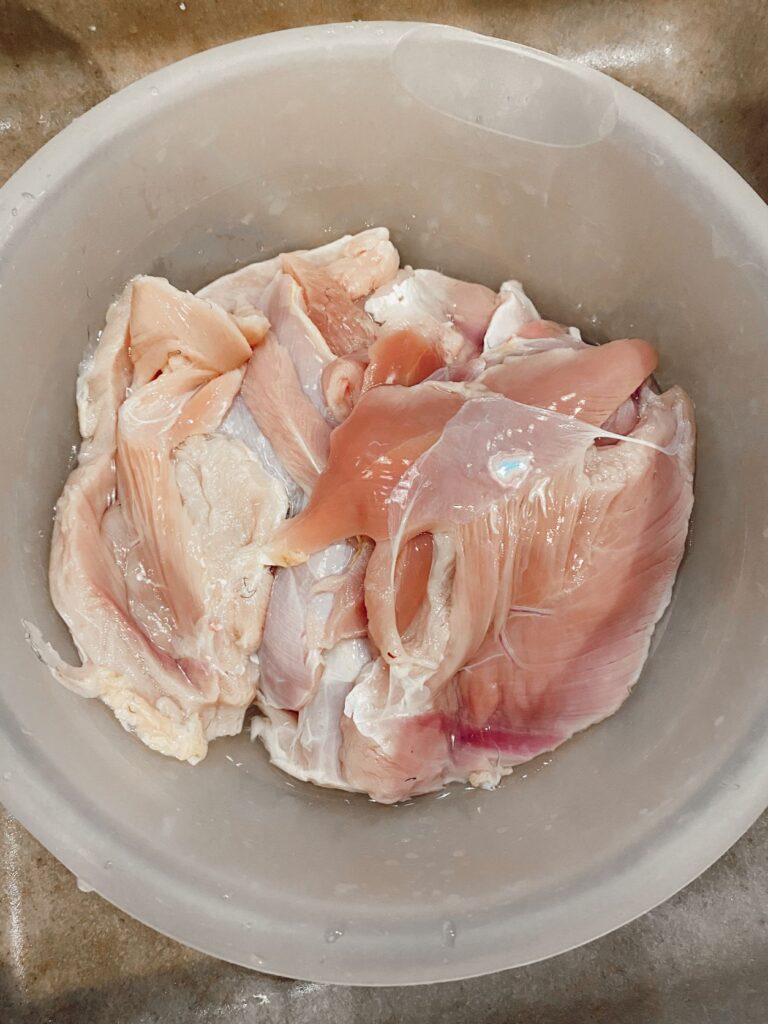
We then put the meat into very cold water, with course kosher salt. The salt will help pull any of the remaining blood and impurities out of the meat and is also a kosher processing method. This will also help to tenderize the meat.

We processed all 4 roosters this way, and I’d say it took about an hour or so. The first one went the slowest as we were figuring out exactly what to do, and the other three went more quickly. I would hold the bird from moving as Michael cut, but with practice, I think this could be easily done by one person as well.
I let the meat set in the salt water for a few hours, after which I rinsed the meat well, and removed some of the down/feathers that had stuck to the meat.

I took a few of the breasts and put them into my instant pot with broth, to cook for soup for dinner that evening, and the rest I created a wet brine with kosher salt, tender quick, brown sugar, garlic, and paprika, and put that into the fridge with the rest of the meat. I let that brine for two days, and then took out of the fridge and rinsed really well.
I will say that the meat that I cooked that same day in the chicken broth was more tough than the meat that I let brine, but cooking in the instant pot and chopping the meat into the soup was still really good!


With the brined meat, I took the rest of the breasts and put it into a crock pot with BBQ sauce on low for about 8 hrs. I then shredded it with more BBQ sauce for a pulled BBQ chicken. This meat was absolutely delicious and very tender!
The rest of the thigh/quarters I rinsed the brine off and put them into the freezer for later. I might end up trying to smoke these, but I haven’t decided yet!
So that is the long/short story of our first-time processing any of our own chickens, and I’d say it was a success. If you’re interested in doing this in order to get some use out of your roosters, don’t be scared of the process, or of how the meat will turn out. With a little bit of time and proper preparation of the meat, you don’t have to let these birds go to waste!
Let me know below if you’ve done this before, or if you do try it, how it ended up for you! I’ve also linked a few affiliate links below for items including the cones that I found, if you’d like to get some for yourself!