My Big Kitchen Reno Pt. 2 – Cabinet Painting
Hello friends! I’ve been SO excited to share this post, and the continuation of my kitchen renovation, the part that I knew would make the BIGGEST difference, painting the cabinets!
If you’d like to see where we started in the reno – visit Part 1 HERE!
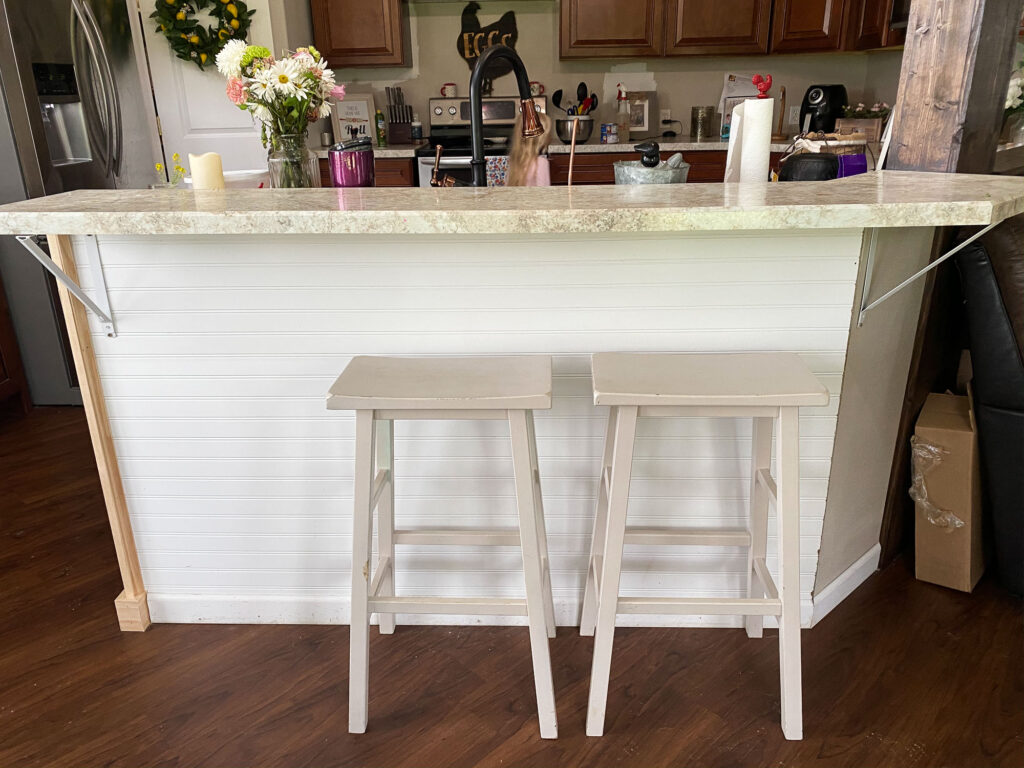
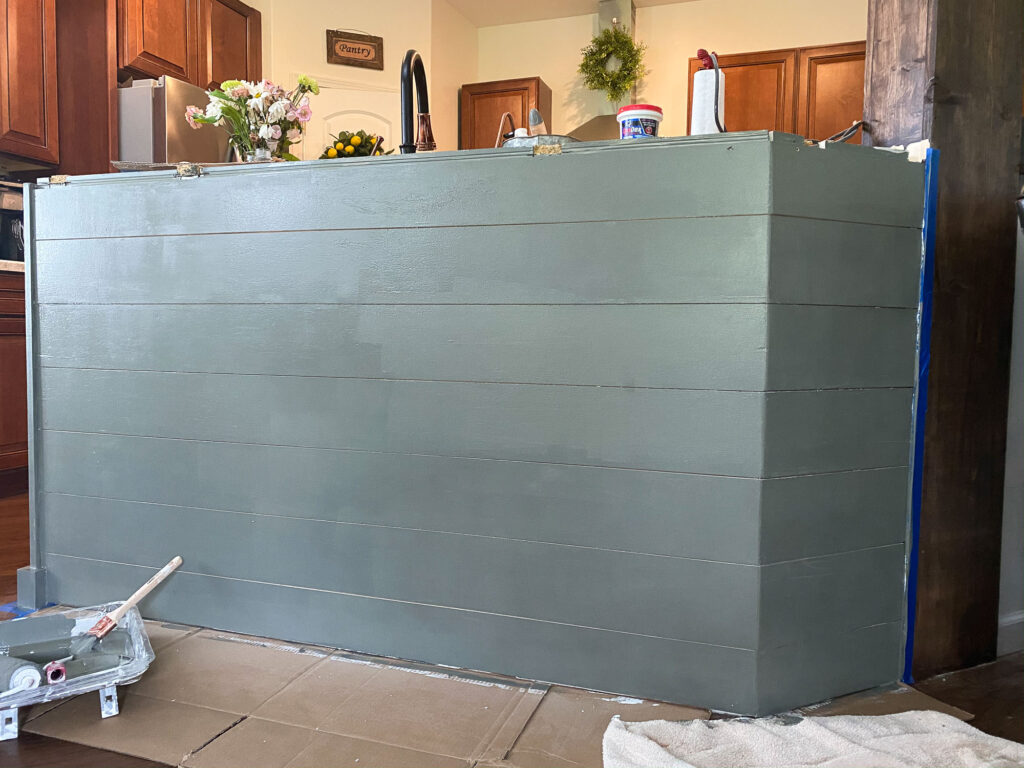
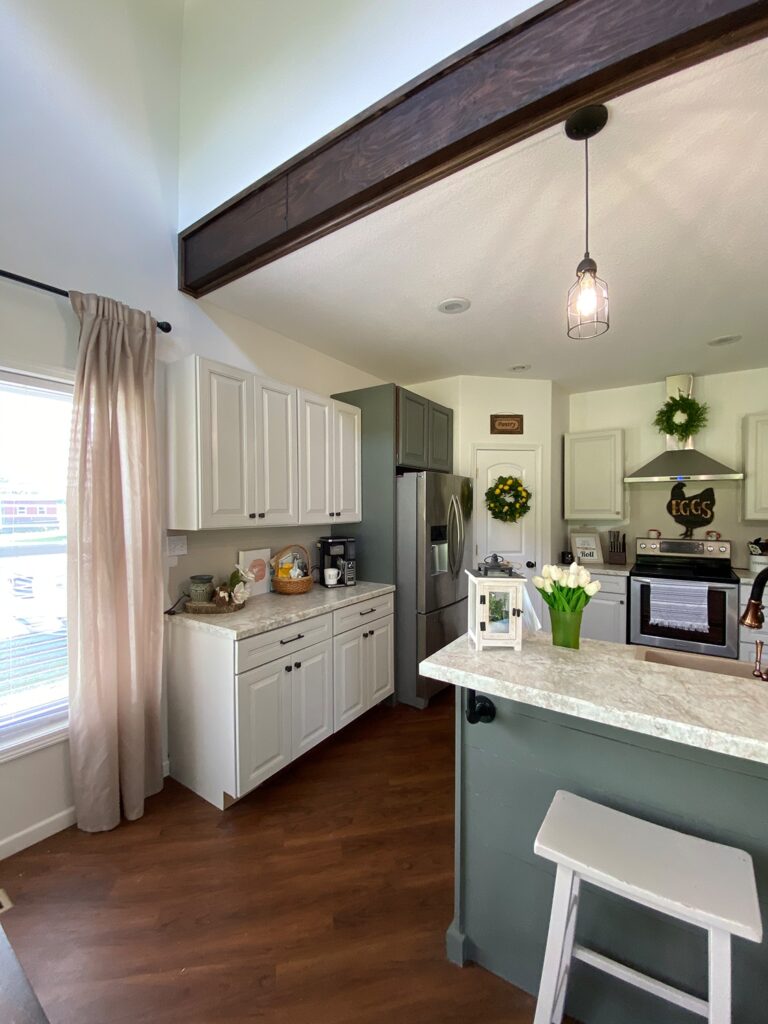
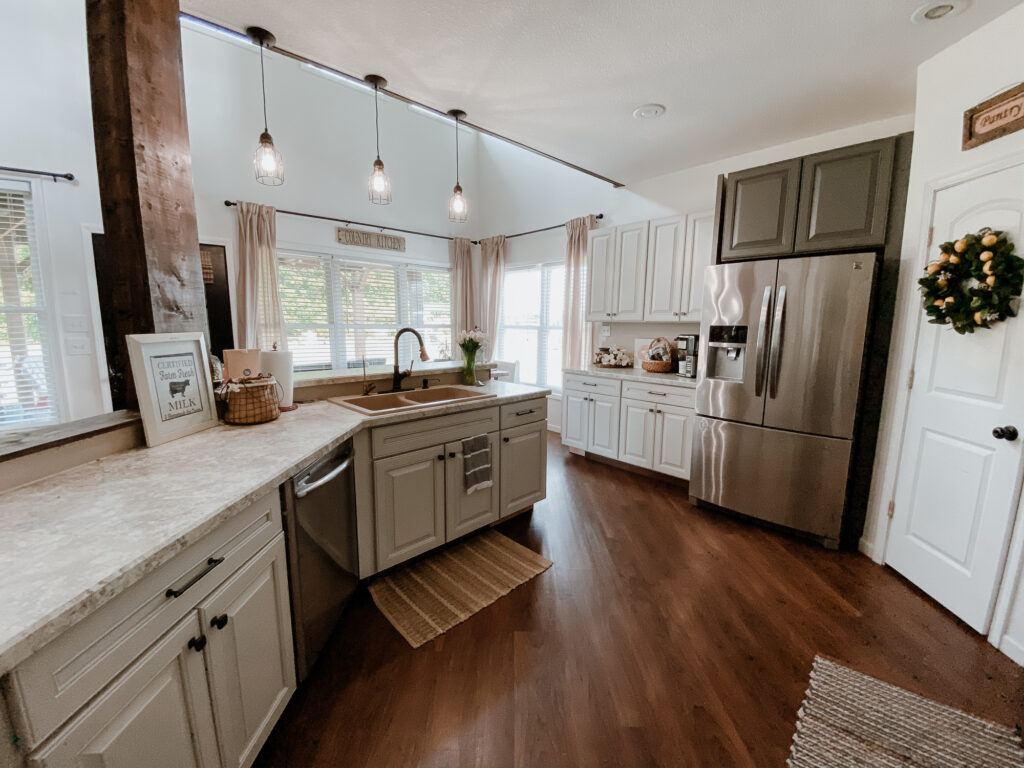
After opening up the wall and lowering the bar, the next step was to stain the faux beams to match the overhead beams, and also I wanted to remove the headboard and do a pretty shiplap on the front of the bar area.
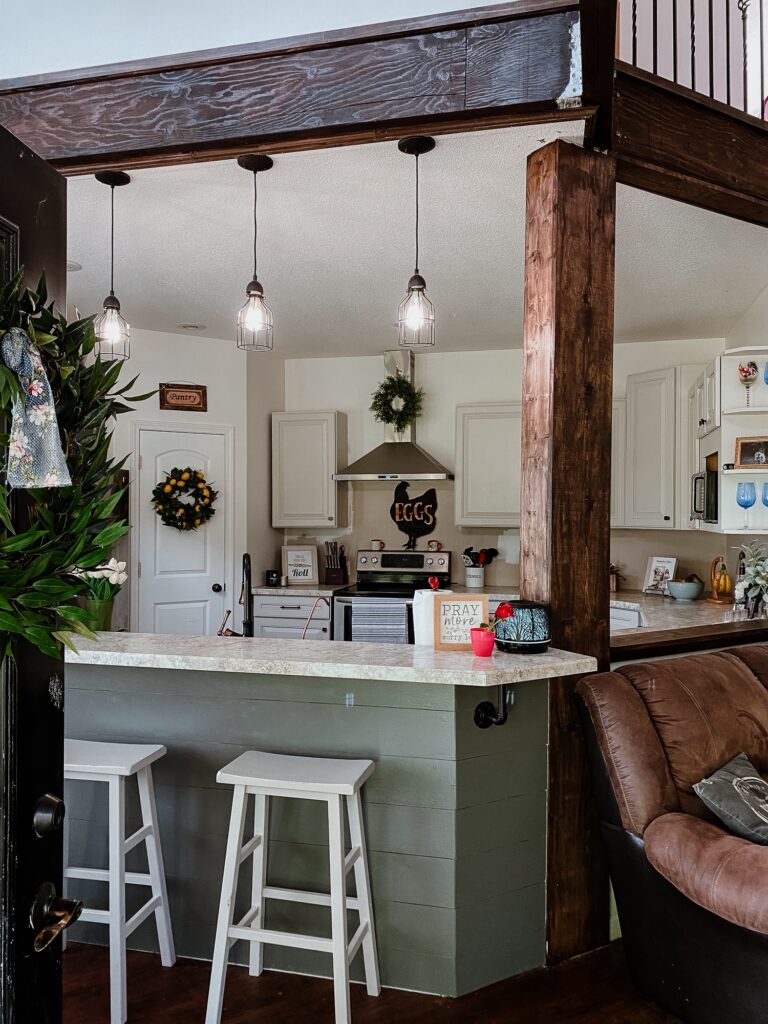
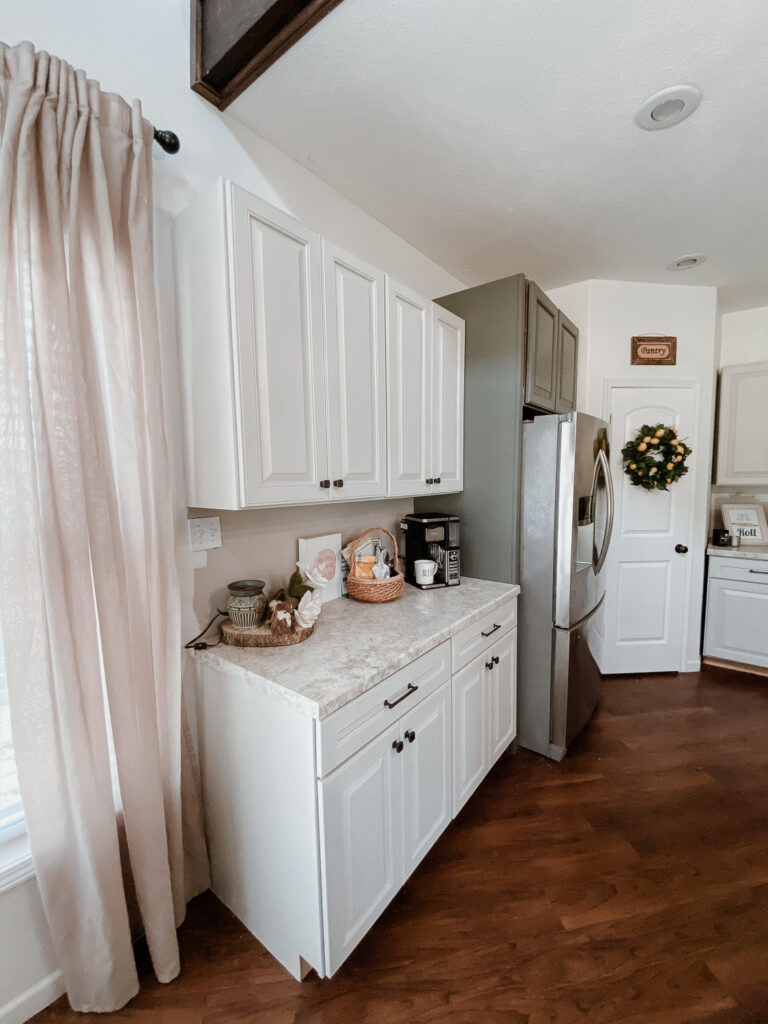
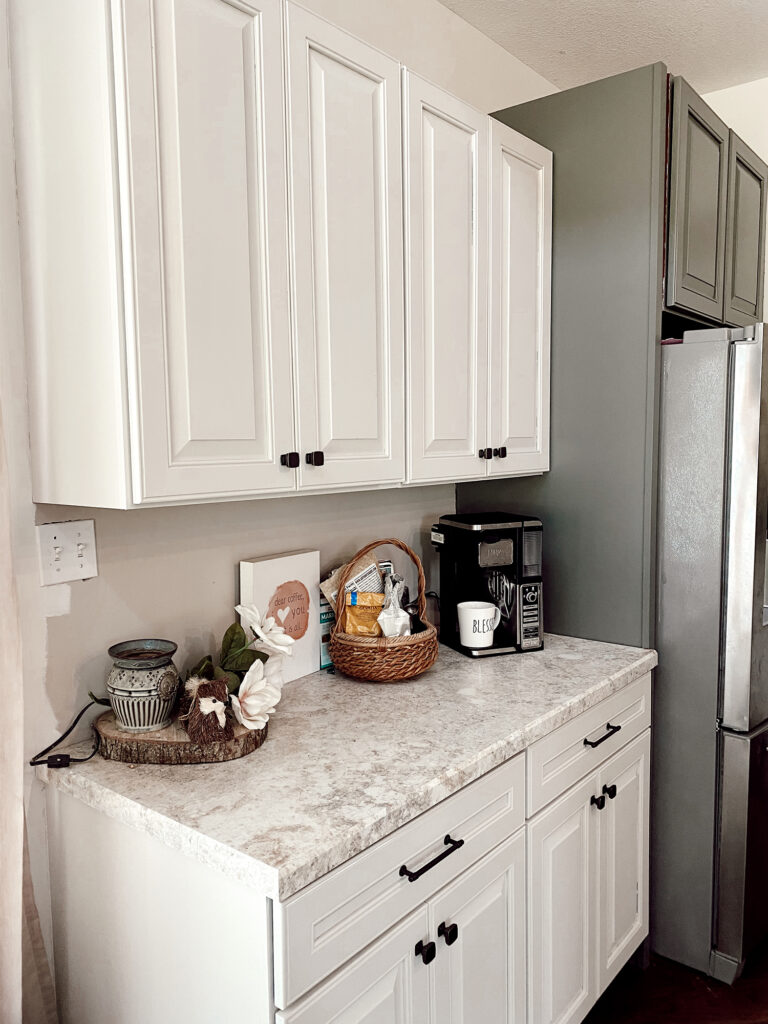
I was thinking about different color schemes, from navy, to black, and ended going with a beautiful army green! It’s a SW paint color Thunderous SW 6201 that I had color matched in the Behr Alk Enamel paint. I also decided that I was going to paint the fridge cabinet this color as well!
You can see how this turned out here.. I love it so much!
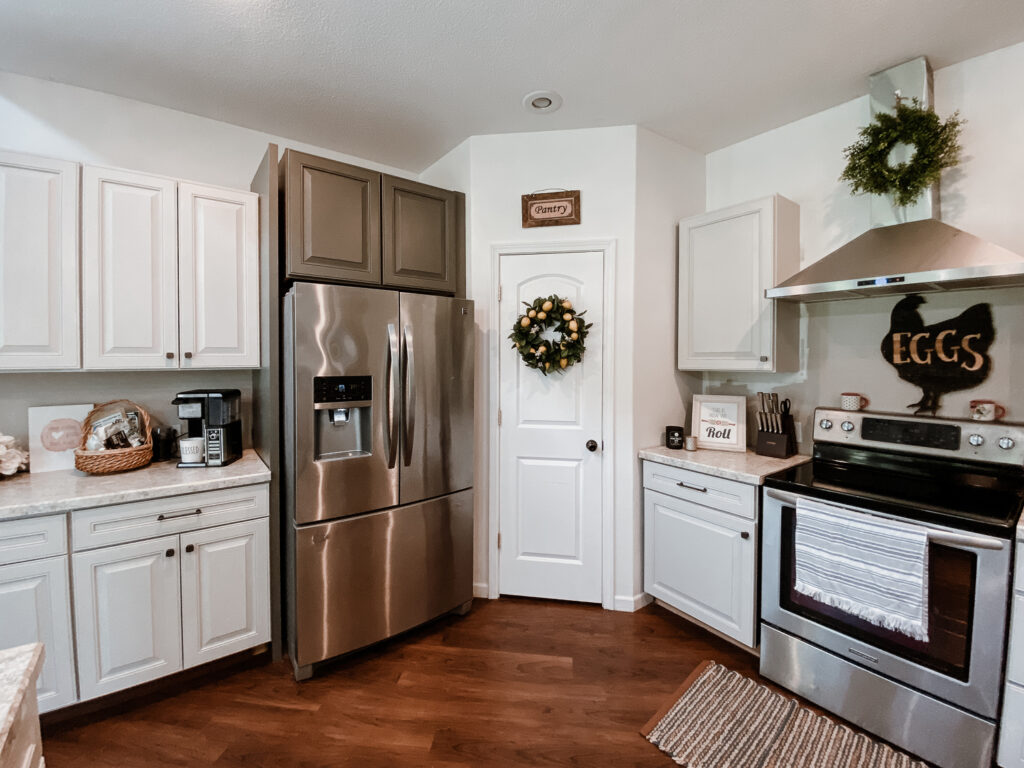
As far as the cabinet paint, I partnered with Velvet Finishes paint for those. Kellie was so awesome to work with, and her paint is truly AMAZING! It requires no sanding, and no priming, and it literally dries in the prettiest, smooth finish with virtually zero brush strokes. I was IN LOVE!
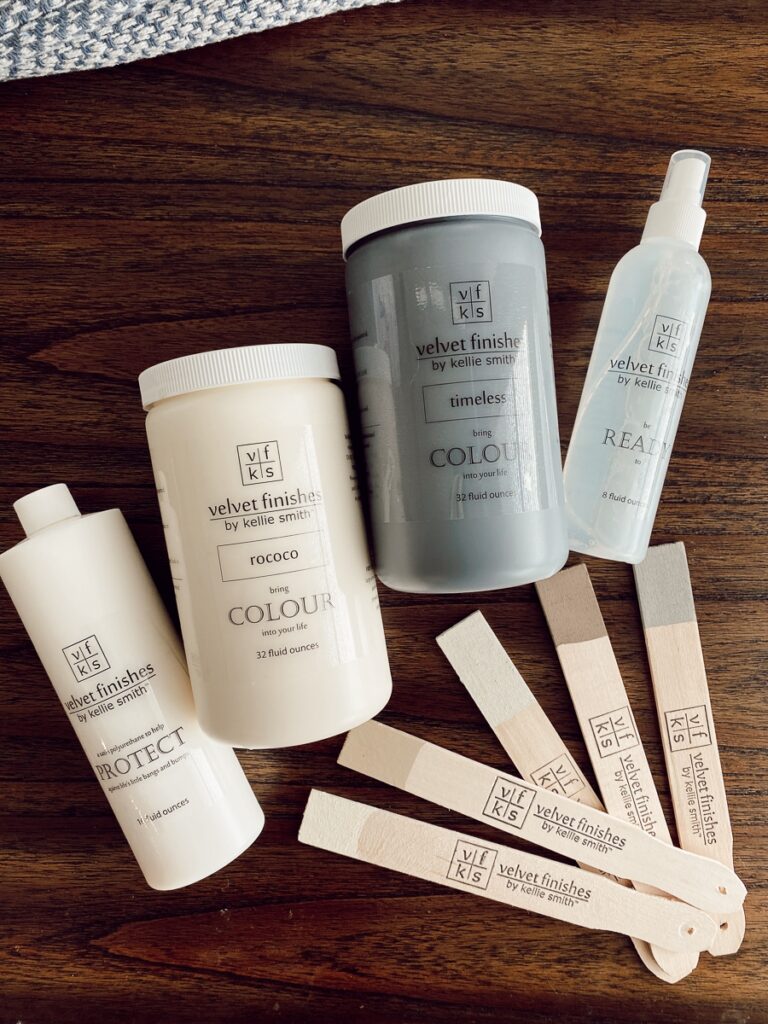
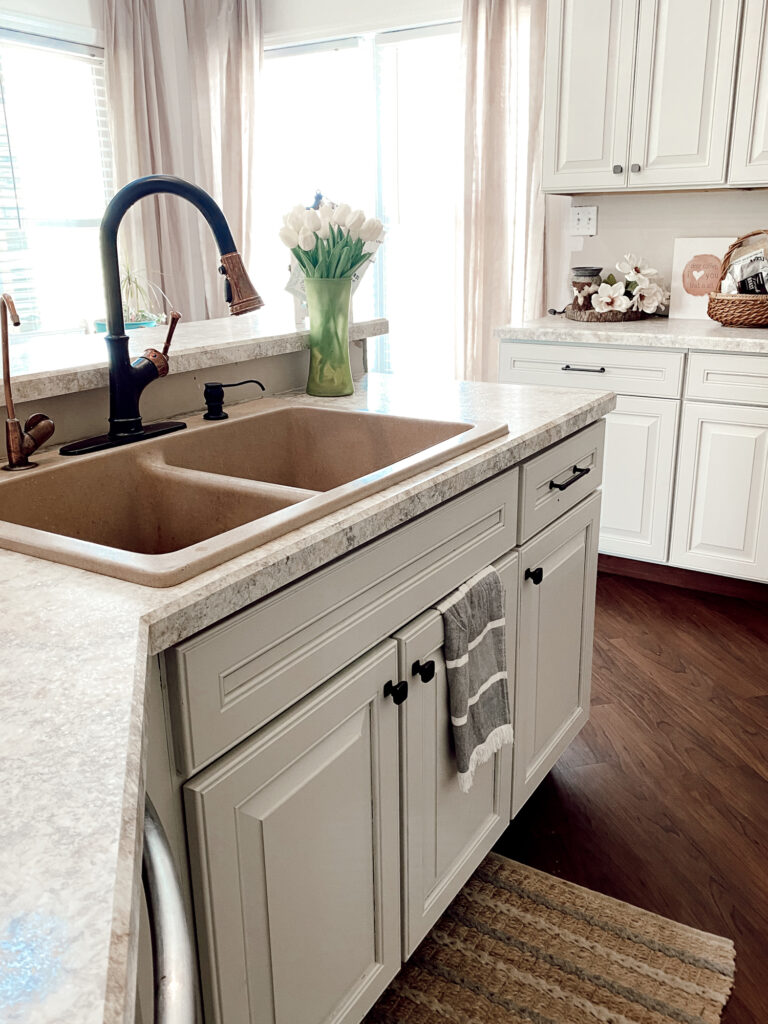
Kellie and I had been trying to create a custom color for my cabinets, that was similar to SW Agreeable Gray. Our first attempt I did a 50/50 mixture of Rocco and Timeless, and ended up with a color that was MUCH too dark of a gray. Kellie sent me more of the Rocco, and I just kind of ended up mixing in some of the gray that I had and the Rocco that I hadn’t mixed in yet, until I ended up with a color that I loved. Unfortunately, I have NO IDEA how to re-create what I did, because it was just kind of a back and forth mixture, but I ended up with a very light, warm gray, which is what I was going for!
Velvet Finishes is a revolutionary paint system, and so many other bloggers are having such an amazing experience with their furniture painting projects! They have SO MANY beautiful colors to choose from. You can check them out HERE!

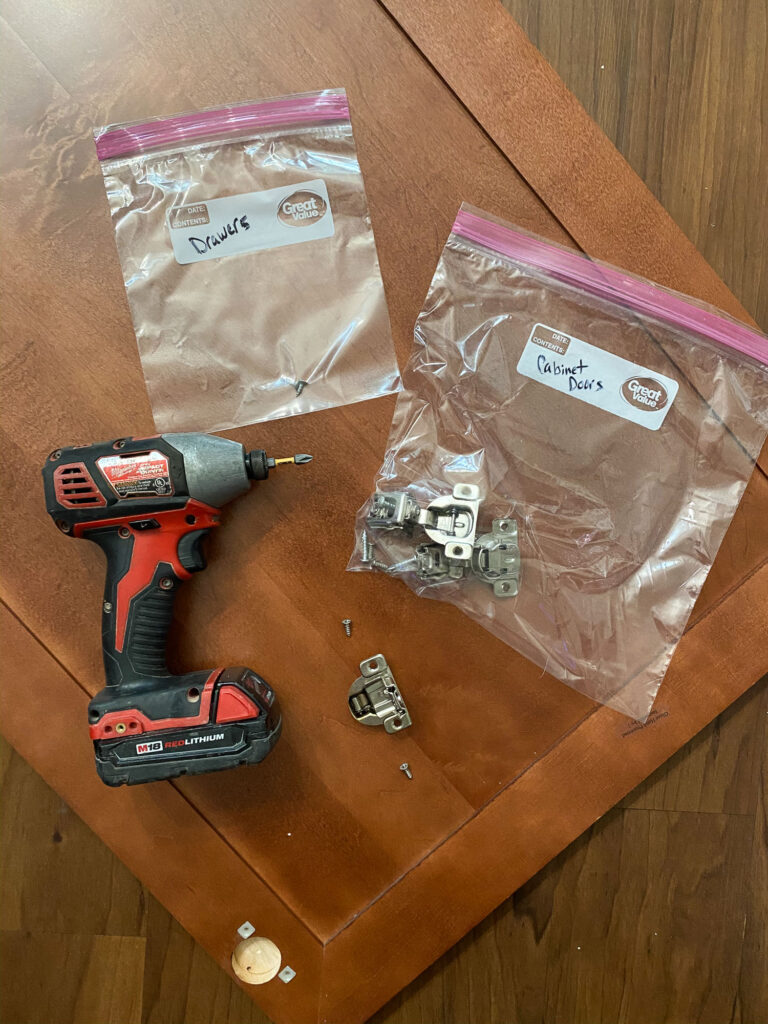
My first step in the process was to remove all of the cabinet doors, and I just labeled baggies for the hardware so that I could keep track of that.
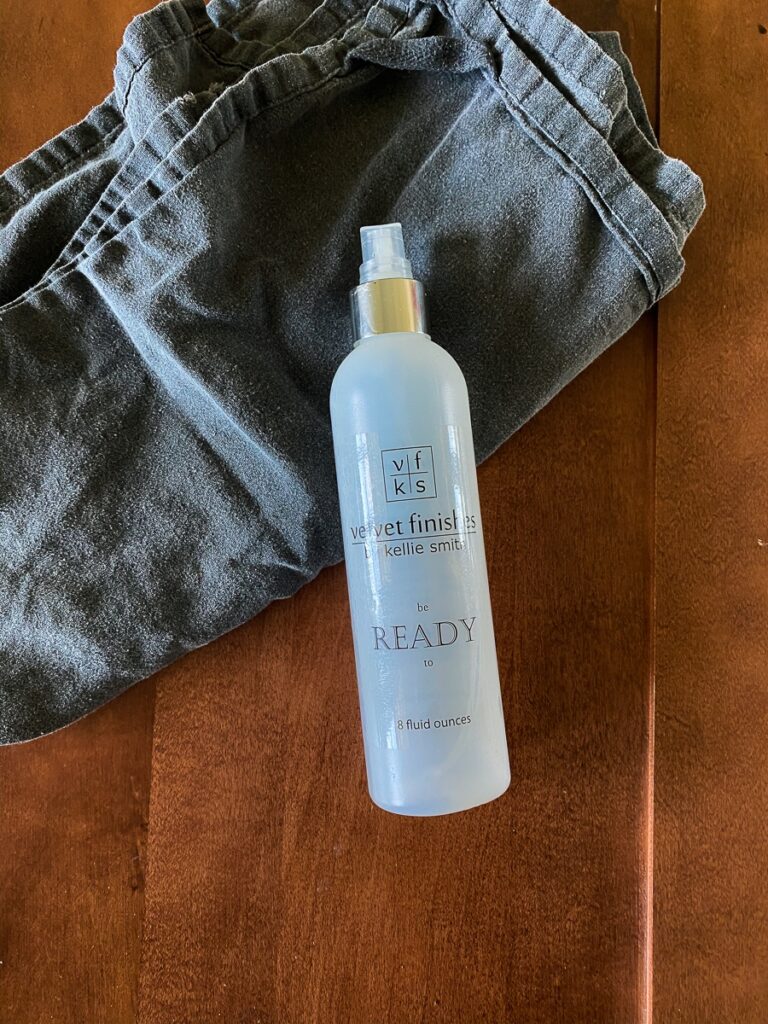
Next, I cleaned all of the grime off of the cabinets, and used the “Ready” spray step on all of the doors and boxes. This step was a little time consuming, but NOTHING compared to how time consuming it is to sand and prime! The Ready step is like a sander/deglossser, and it really took the “shine” off of the cabinets!
I had SO many cabinets that I ended up taking them all over to my photography studio and laid them out on a painters plastic so that I could just do all of the paint coats at one time. I used plastic cups that I had on hand to elevate them off of the floor. I started with the back sides, and then flipped them and did the fronts.
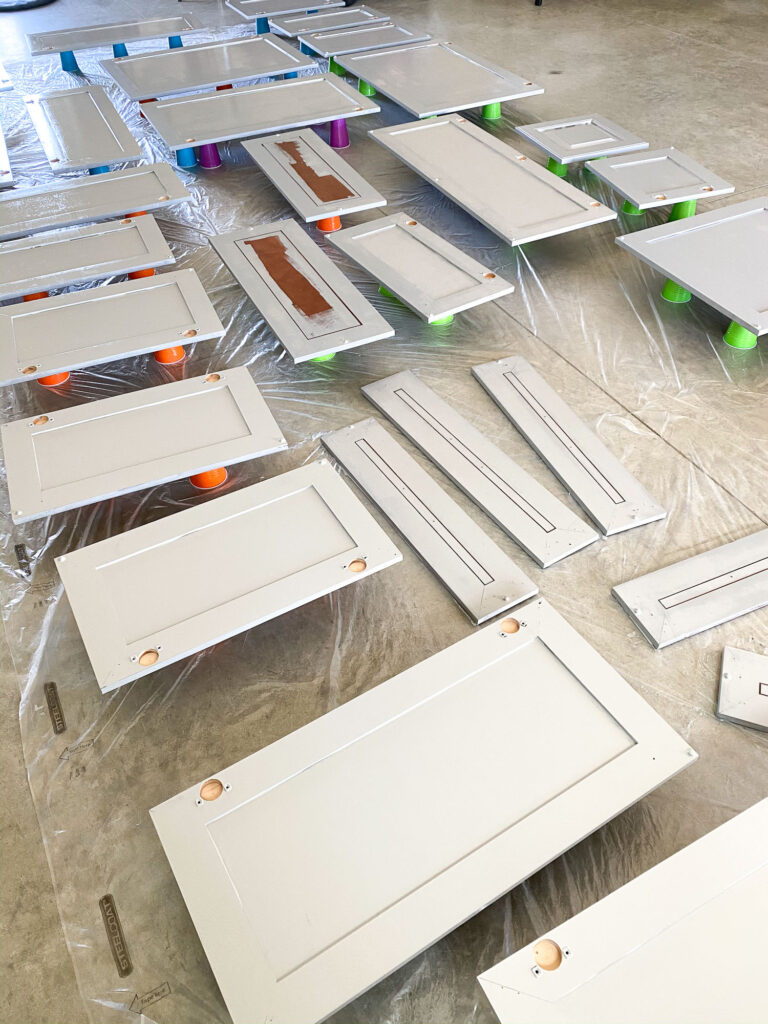
I ended up doing two coats per side, and let them dry overnight in between coats. I’d then go inside and put a coat on the boxes inside too. I don’t think that it’s necessary to let them dry that long in between coats, but I had so many cabinets to paint, that by the time I finished one coat, and I was mentally DONE with painting for that evening. All in all it took about 3 days to complete the painting.
I will say that this paint without sanding and priming did NOT work on the ends of my cabinet boxes. Those were more of a melamine or paneling cover and not true wood, and the paint did NOT stick to those. I ended up having to sand and prime those before I could get the paint to stick on those. So just a word for the wise, if you are trying to use this method to paint cabinets or furniture that isn’t actual wood, you will probably have to do the sanding and priming step anyway.
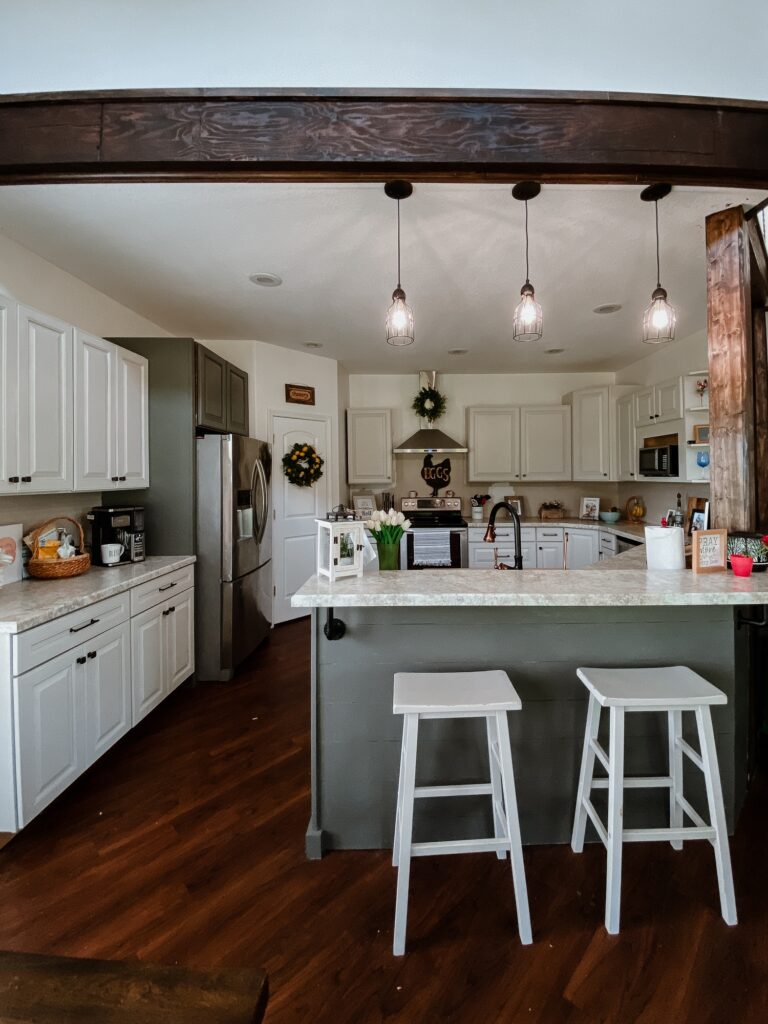
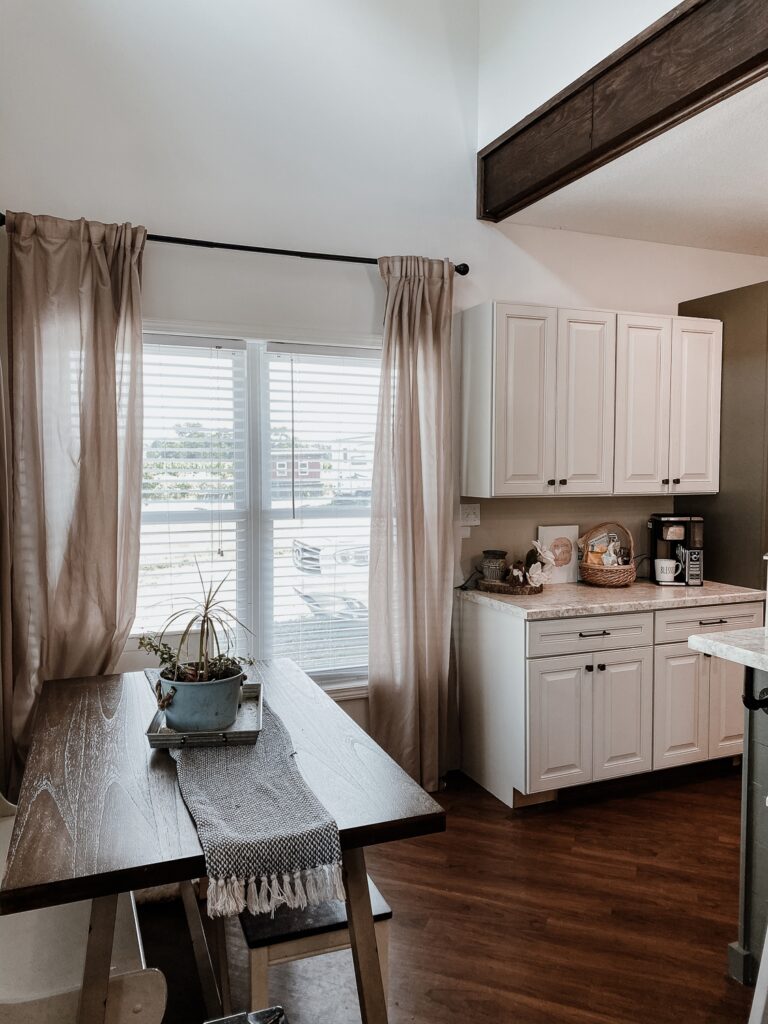
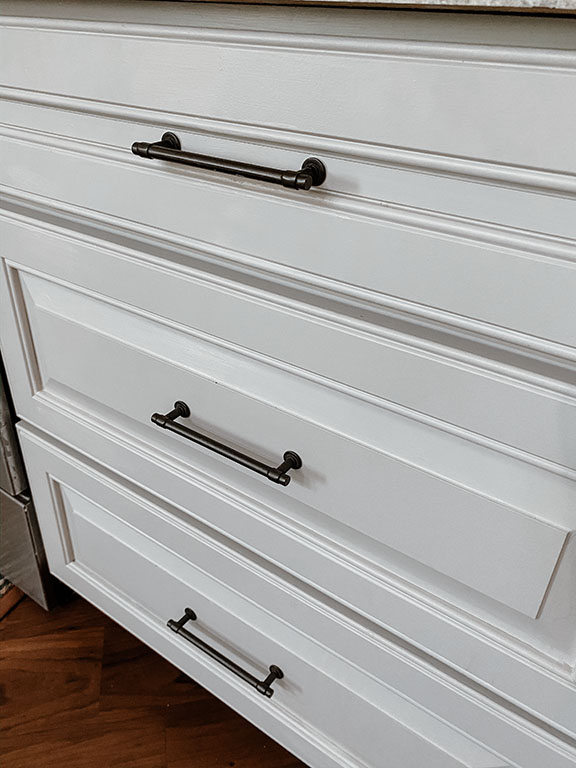
All in all, I LOVE how everything turned out in the kitchen! It’s SO much brighter and feels so open and beautiful now! I also love how the hardware we selected looks with the new cabinet color too. Scroll down to see all of the gorgeous AFTER photos!
The next step in my kitchen process will be adding crown moulding, re-doing the baseboards, and adding a tile backsplash! So stay tuned for the final part THREE when we start that part of the process! 🙂


