
DIY Beauty Hacks you Can Do at Home!
I’ve always been a big DIYer, and while there are certain things that you really SHOULDN’T attempt to do from home, there are also a lot of things that you can easily get a kit for, and get salon results right in the comfort of your own home!
I’m going to go through some of my favorites here!
1. EYEBROW TINTING
One of my favorite things to do at home is to tint my own eyebrows! You can go to a salon for this, and spend $15 each time, plus your time driving to the salon, bringing your children etc. You can do this right from HOME, spend less than $20 for a kit that will last you close to two years, and have it done in your bathroom in less than 5 min! I use a kit from Amazon, and it is seriously the EASIEST thing to do. I have very light blonde eyebrows, and tinting helps me look like I have eyebrows even without filling them in. It also makes my eyebrow gel – fill items look much more natural than when I just use my eyebrow gel alone.
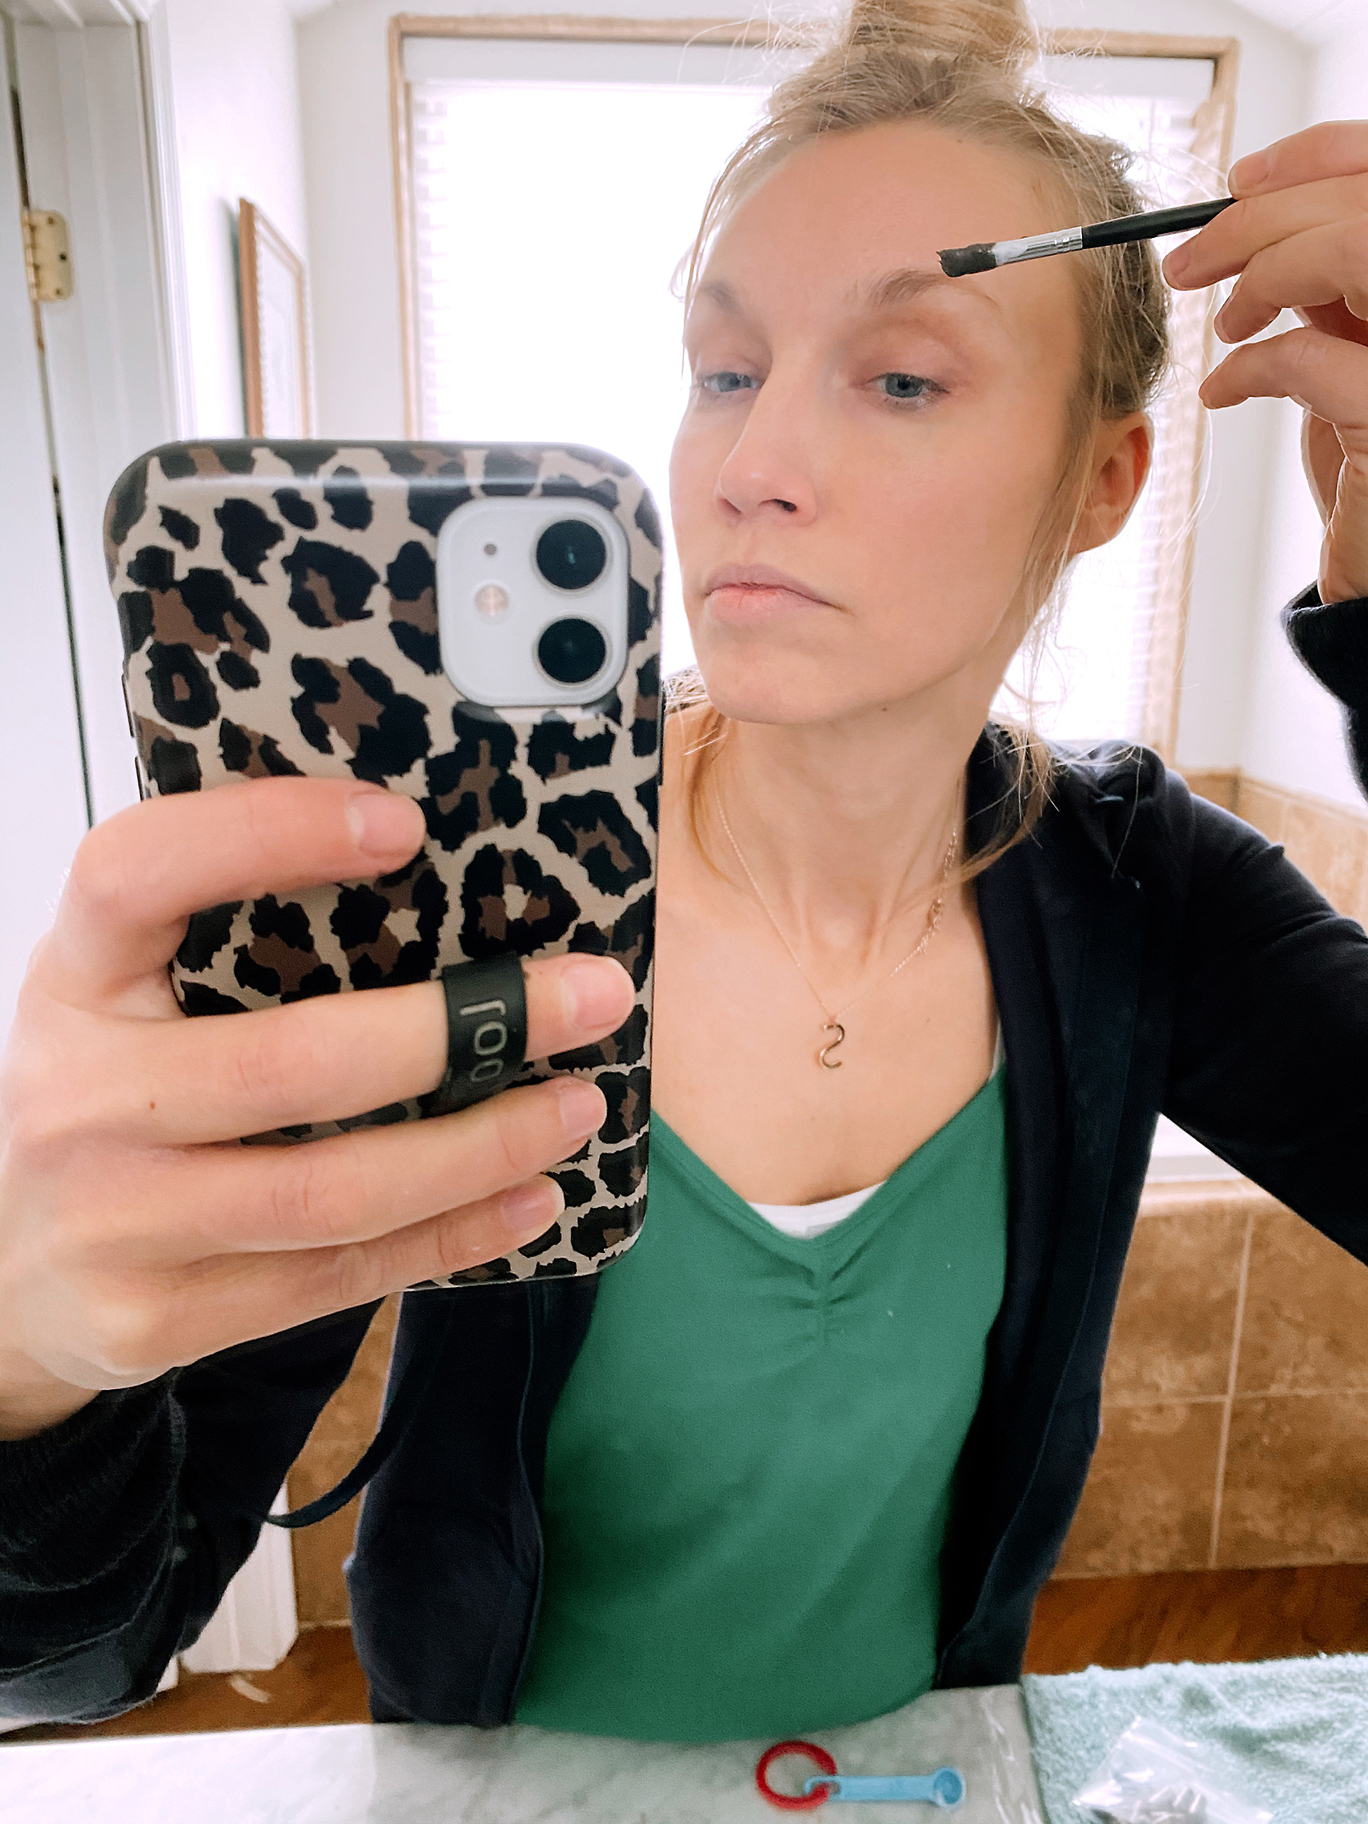


It’s so simple to do. It come with fool proof instructions, but you basically just mix the tint powder from the pre-measured capsule, add in the included developer, and mix with the included brush. I paint onto my eyebrows in the shape that I normally fill my eyebrows in, and depending on how dark you want it, you’ll let it sit for 45 seconds to 2 min, rinse, and you’re done! It literally couldn’t be any more simple. The results will last 4-6 weeks.
2. AT HOME “BOTOX” & Fillers
Are you at home, and can’t go get a fill? I have two products that will change your skin life! The first is an eye cream that was touted by She Finds as “better than botox”. You can read the article here: 7 Dermatologist-Approved Eye Creams That Work Better Than Botox
This is my favorite GO TO eye cream, and has made such difference in lightening my under eye area, as well as reducing the appearance of my fine lines and crows feet! The cream is non-toxic, and combines the leading edge of science and nature to bring you the best possible results for your skin!
The entire skincare line is awesome! Here are my results after using my favorite skincare system for the last few months.

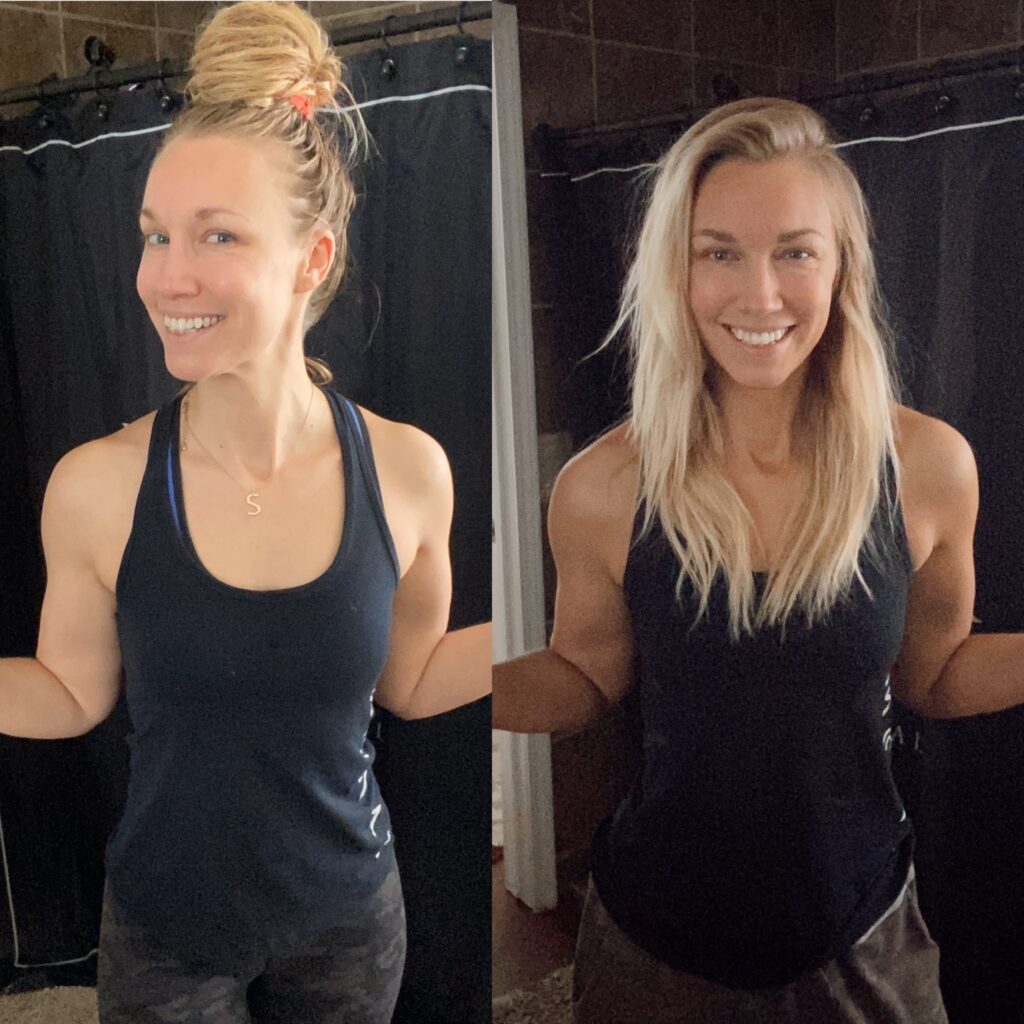
The second product is an instant miracle cream! It lifts, tightens, and “fills” your skin in 30 seconds. Check out my 1 min before and after below. I used this 30 second miracle cream on one eye, and not the other, and I couldn’t believe the difference! I also use this on forehead wrinkles and on the lines around my mouth. This cream is easy to apply in the morning, or before going out, and the effects last up to 8 hrs!
The photos below were taken before and after using the 30 second filler cream… There’s a total of about two minutes in between the photos. The first photo I woke up after sleeping in makeup, ( I know, big NO NO), and then I removed my old makeup, used my skincare line and the 30 second cream and took the after photo a couple of min later. No filter, no editing of any kind, and taken in the same spot in my bathroom.

You can see more info about and shop my favorite skincare here! (Affiliate links)
EYE CREAM
30 SECOND MIRACLE CREAM
If you’d like to get a great discount on this and the other skin care that I keep raving about, send a message and I’ll get you the hookup!
3. DIY Nails
I am a huge fan of doing my own nails, and I’ve done everything from just regular paint, to at home gel nails, to dip nails, to press-on nails, to Color Street nail strips!
My favorite out of all of the different nails I’ve tried for longevity and ease of application are the gel nails and Color Street nails strips!
It’s so easy to get a DIY gel nail kit on Amazon, and the only thing you need to practice is precise application. They last for weeks, and I love that they really protect my nails and make them grow well and strengthen them! I also love that you can do a huge variety of colors and designs! You can see the kit and my favorite polishes that I use linked below. (affiliate link)

ColorStreet also has super fun nail strips that are SO EASY to apply. They are real polish and don’t require any weird cutting or heat tools to apply. I always use a top coat, but as long as you prep your nail correctly, and use the top coat, they can last up to two weeks!

My least favorite are regular polish, because it only lasts a day on me before it cracks (even with the good stuff), and dip nails. I think with practice I’d like the dip nails better, but they’re so hard to get a smooth finish without them looking super bulky!
As a plus, I love how hard and strong they are.. I think they could definitely last a LONG time, and I like that you don’t need any additional lights or equipment to make them work. I’ll link what I used below. (affiliate link)

Finally, I also like press-on nails for a shorter wear time. They don’t last forever, but they are SUPER easy to apply, and will last a good few days at least if you take care of them, before they start lifting. I love that they have so many cute options, and you can literally apply them in 5 minutes. Also, unlike polish, you don’t have to worry about un-even lines or getting paint on your cuticles or skin.
And you can always keep some glue around and glue back down when they lift! I’ll link some of my favorites below! (affiliate link)


4. Self Tanner!
Another way that I can instantly feel younger, thinner, and more put together is by having a TAN! I live in the cold north, so going outside isn’t an option for most of the year, and I’m totally against tanning beds and the harm that they cause skin. Going and getting a self tan in a salon is great too, but if you can’t go out, or would rather not spend the money, there are some GREAT options for self tanning at home!
My favorite self tanners are mouses that are applied with a mitt, because I feel like I always get the most even and natural looking tan with these. My favorite tanner that I’ve been using recently is linked below, and you can see my results here!
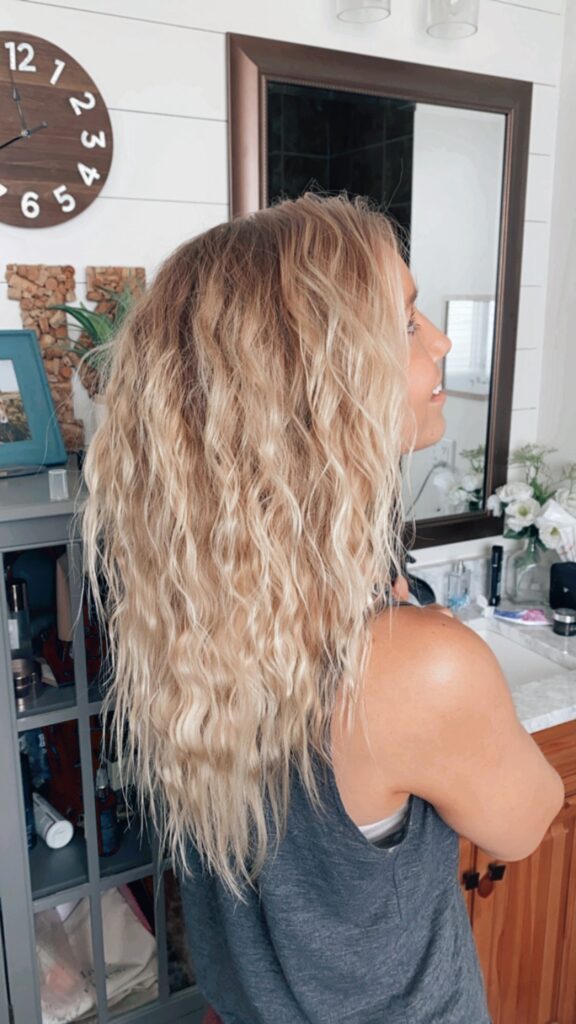
5. Heatless Beach Waves
And finally, my other favorite DIY at home hack is getting beach waves at home with NO HEAT!
I use my favorite Air Dry Cream, and Texturizing Mist (affiliate links) on freshly washed, damp hair before going bed.
I section my hair into 5 to six sections around my head. How many sections you use will depend on the amount of hair you have on your head, and how thick or skinny you want your waves to be. I did various sized sections around my head so that my waves would be different sizes.
Next, I just do a braid as close to my scalp as possible (do not do a french braid, just a regular ole braid is best here), and then I leave a couple of inches out at the bottom and secure with a small hair elastic.
I sleep on the braids, and it isn’t uncomfortable because the braids are smaller, and when I wake up, I take out of the braids, finger comb through the waves, and add my favorite volumizinig DRY TEXTURE SPRAY (affiliate link) in, and I’m ready to go! These waves will last until you shampoo the next time! Just lightly brush through in the mornings and add a little DRY SHAMPOO (affiliate link) to your scalp!
I love how EASY these waves are, and they look SO CUTE! Best of all, it’s virtually damage free, because you aren’t using heat!

HEATLESS WAVES 
NO HEAT HAIR WAVES


Weight limits are very important for RV towing safety. Lorry Danny Tu
Agreed! That’s why the weight of the items that were put in, were very lightweight and less than the weight of the items that were removed. So it’s actually lighter weight unloaded than it was to start out with!