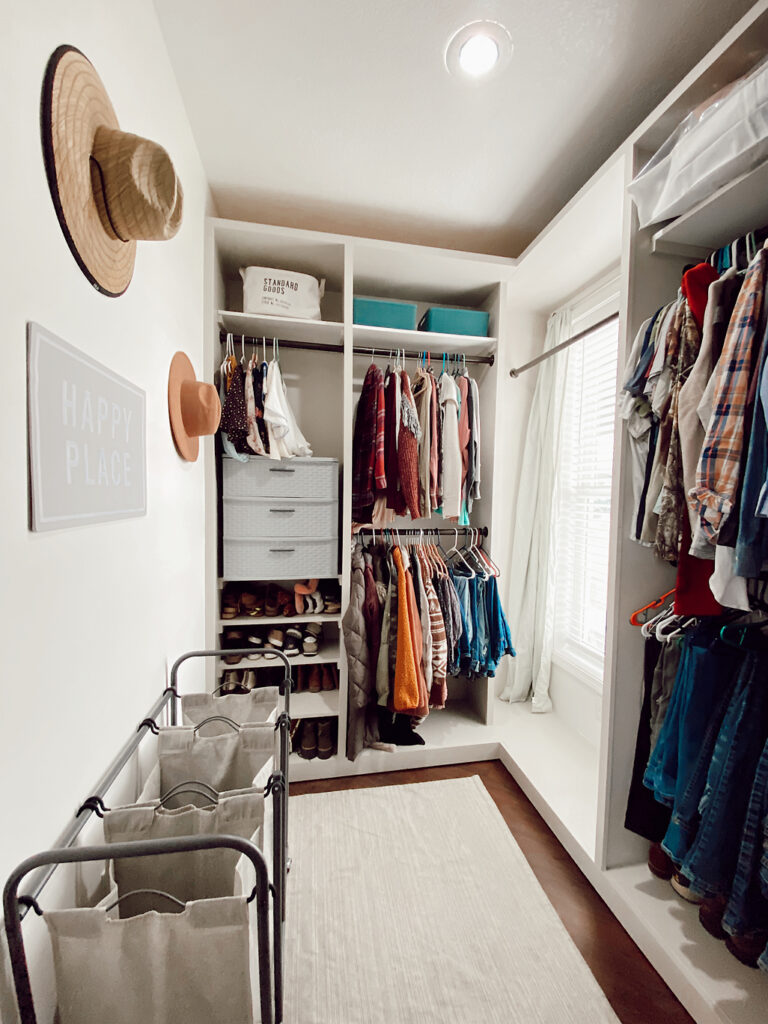
Beautiful – Modern Closet Makeover on a DIY Budget
For those of you who have been following for a while, you know that we built our home about 10 years ago, in the BIGGEST DIY project ever! (Maybe I should blog about our home building process one of these days, but you can see some of our other home DIY projects HERE) Our plan was to finish things in the home as we went along and had the money to do it, and one of the LAST things that were still unfinished in our home, was the master bedroom closet.
*The Shalom Acres blog is reader-supported. When you shop through links on our site, we may earn an affiliate commission at no additional cost to you.*
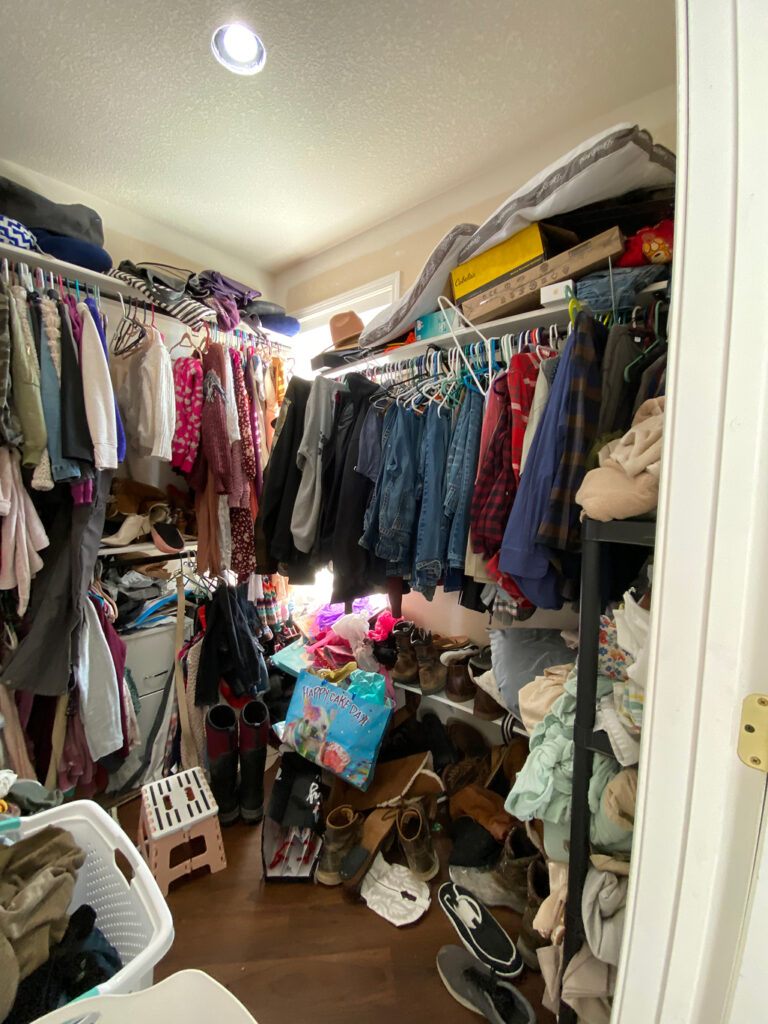
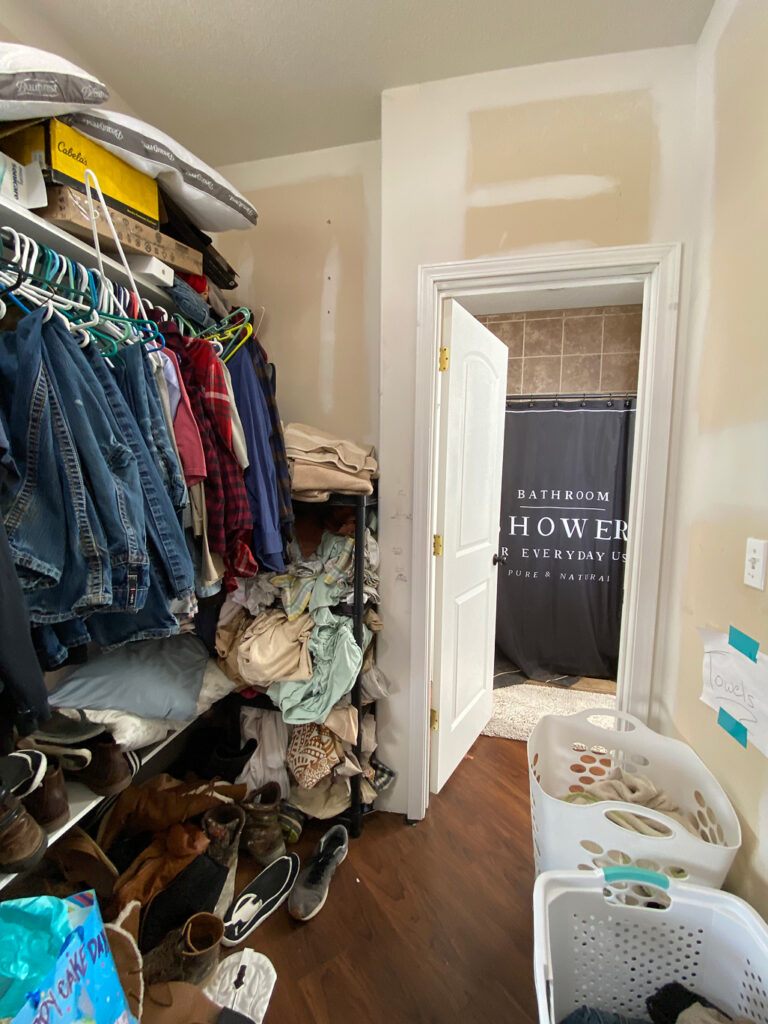
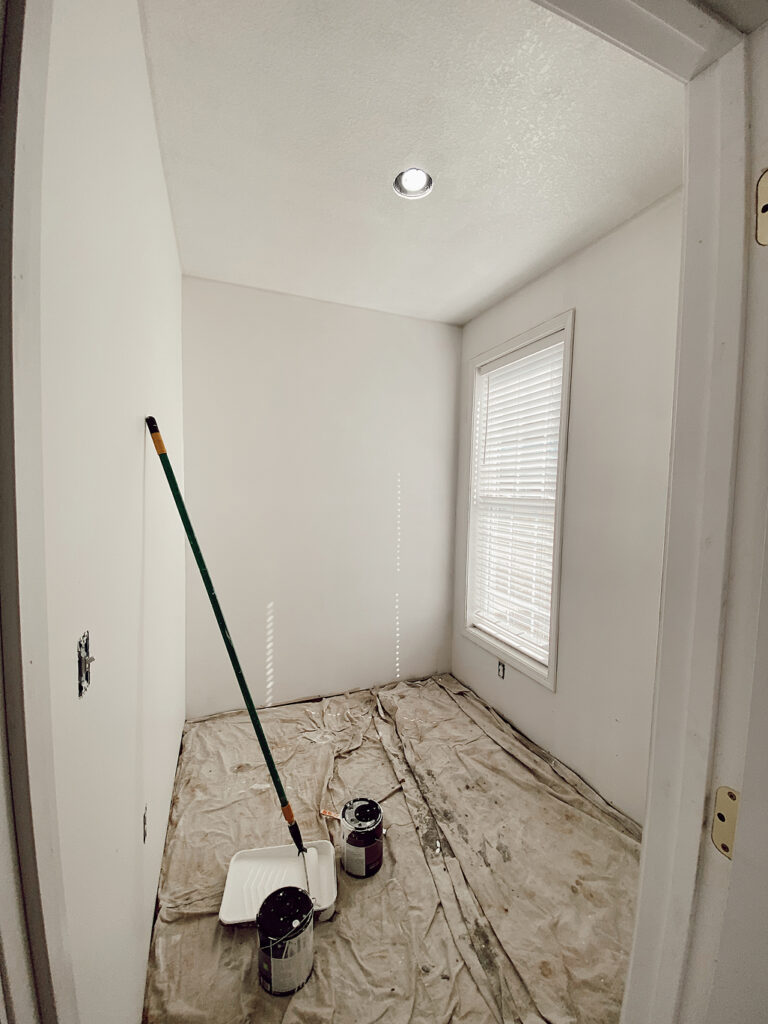
This space was much as it had been when we moved in. This room hadn’t even been painted, and still sported the unfinished drywall! Also, the rods and simple shelves were highly dysfunctional, and just didn’t make good use of the space that we had in here. It was also a disaster and needed a thorough purge! Posting these photos is actually a little, ok a LOT embarrassing. It’s hard to look back and believe we were functioning in this disaster!
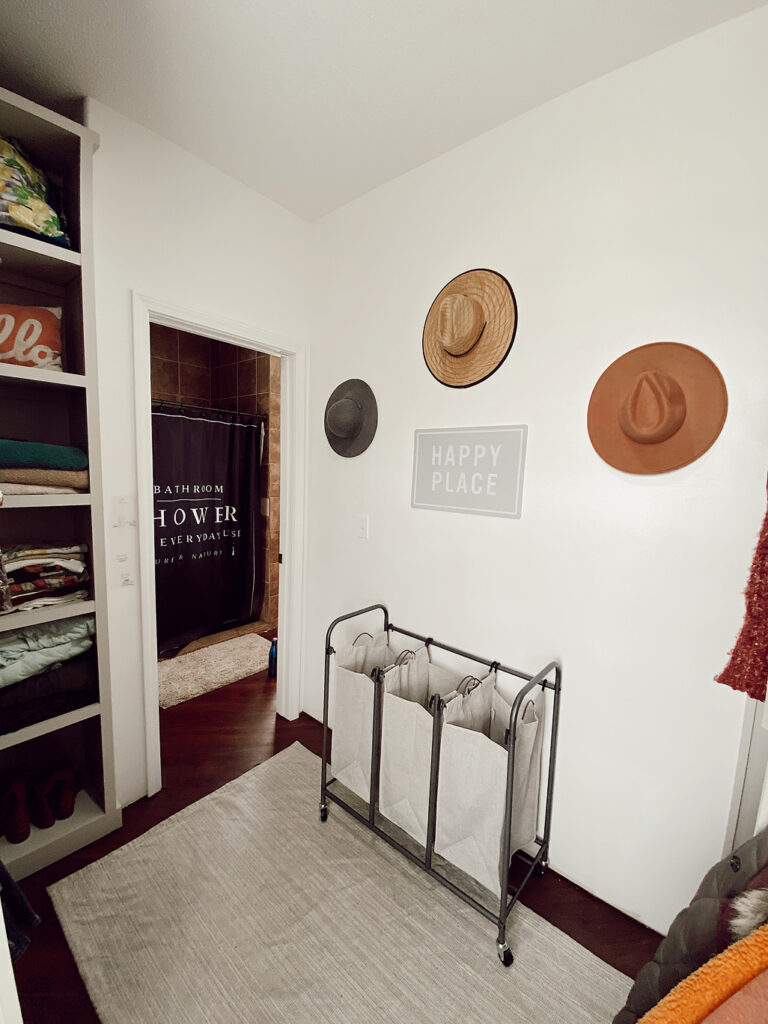
This closet had a few challenges too, because although it is a decent size, the wall adjacent to the door would not be able to have any shelving, because there was only about an inch of space where the door opened, so any shelves near the door would be blocking the door, AND this wall is the opposite side of our electrical panel where all of the electric lines come into the house, so we couldn’t safely nail anything into that wall either. I previously had our hampers on this wall, so I decided I would leave that the hamper wall however, I’d make it much cuter!
The other challenge, was that the closet has a HUGE window in it near the corner, so we were trying to come up with ideas on how we could make that functional, not lose all the light from the window but still utilize the space for storage. As you can see before, the window was almost completely covered by clothes before, so I was hoping to be able to create a design with the closet that wouldn’t completely cover the nice window light.
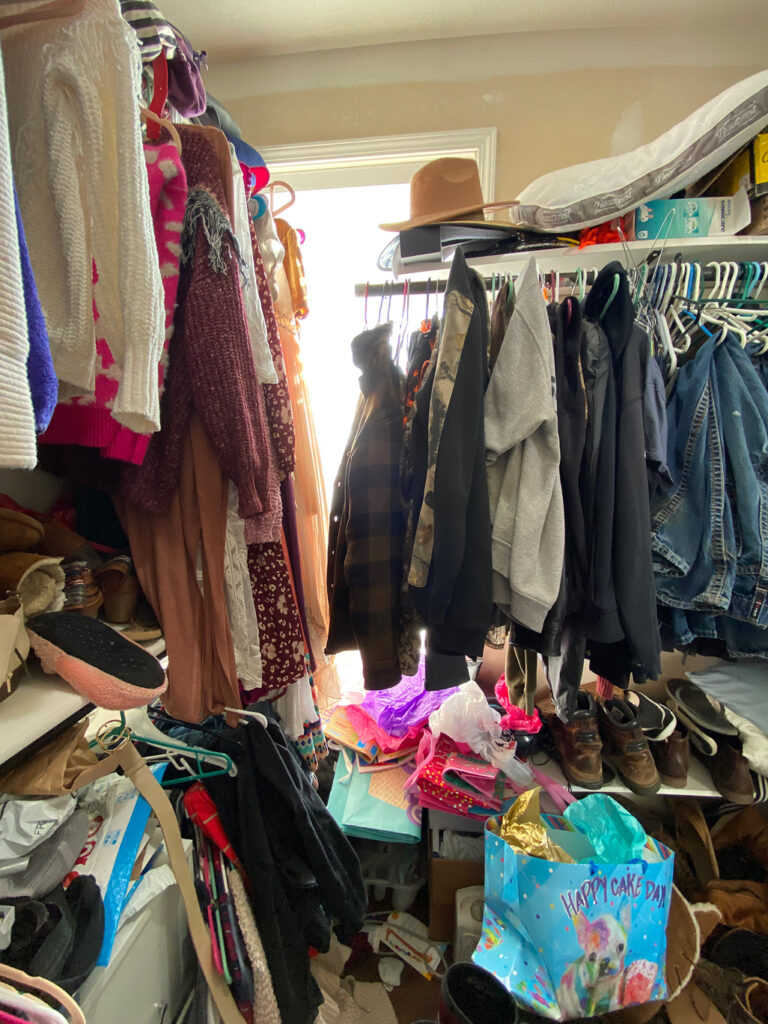
To start with, we took EVERYTHING out of the closet including the existing rods and shelves and purged a ton of junk. We also repaired some of the drywall, and Michael finished mudding and sanding the existing drywall seams to get it ready for paint. It was already looking so much better, just having a blank canvas to work with!

Next, it was time to finally paint this room. I decided to use the same white paint that I had used throughout the rest of the house when we re-painted a few years ago, because I still had some paint left-over, and I knew it would brighten up the space a lot! *If you’d like to know my favorite paint colors, including this one, you can subscribe to gain access to my freebie library and my favorite paint color guide HERE*

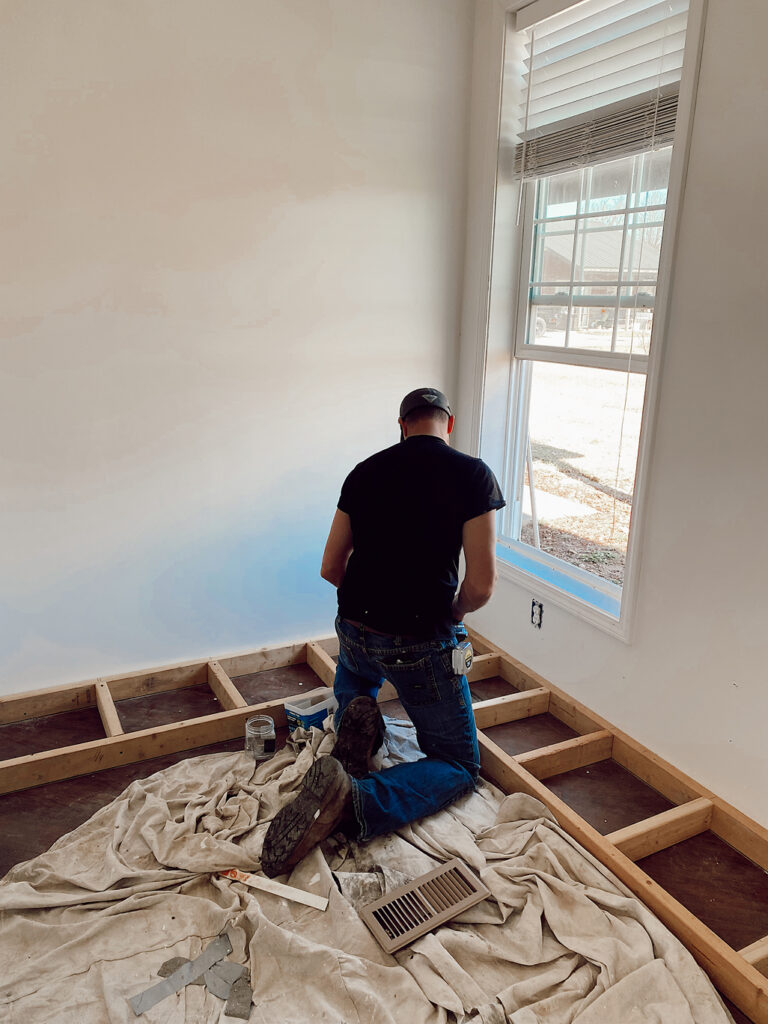
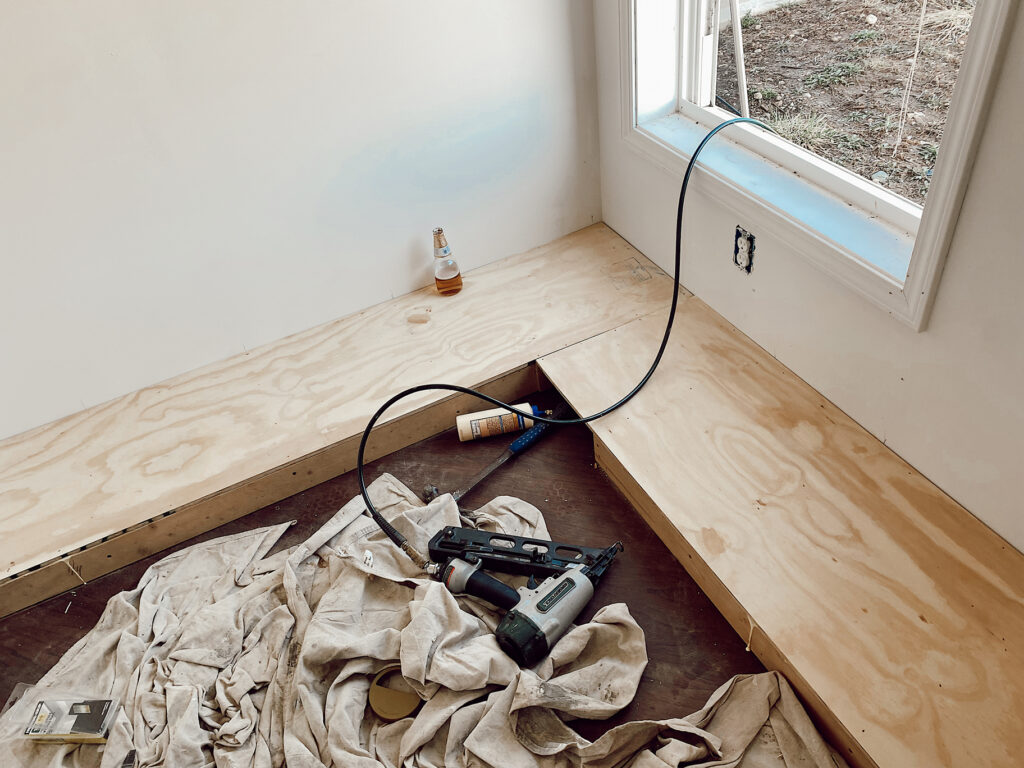
Next, we started building the bases. I’m always so thankful for my talented, builder hubby because I’d have no clue how to do all of this! We used some lumber that we had, and then we also purchased some too. For the base framework we used 2×4’s and for the cabinet boxes and shelves, we used cabinet grade 3/4″ plywood sheets. Then we used 1×2’s to trim everything out, and hide all of the seams and joints. We secured everything with a combination of liquid nails and a nail gun. We purchased our wood at Home Depot.
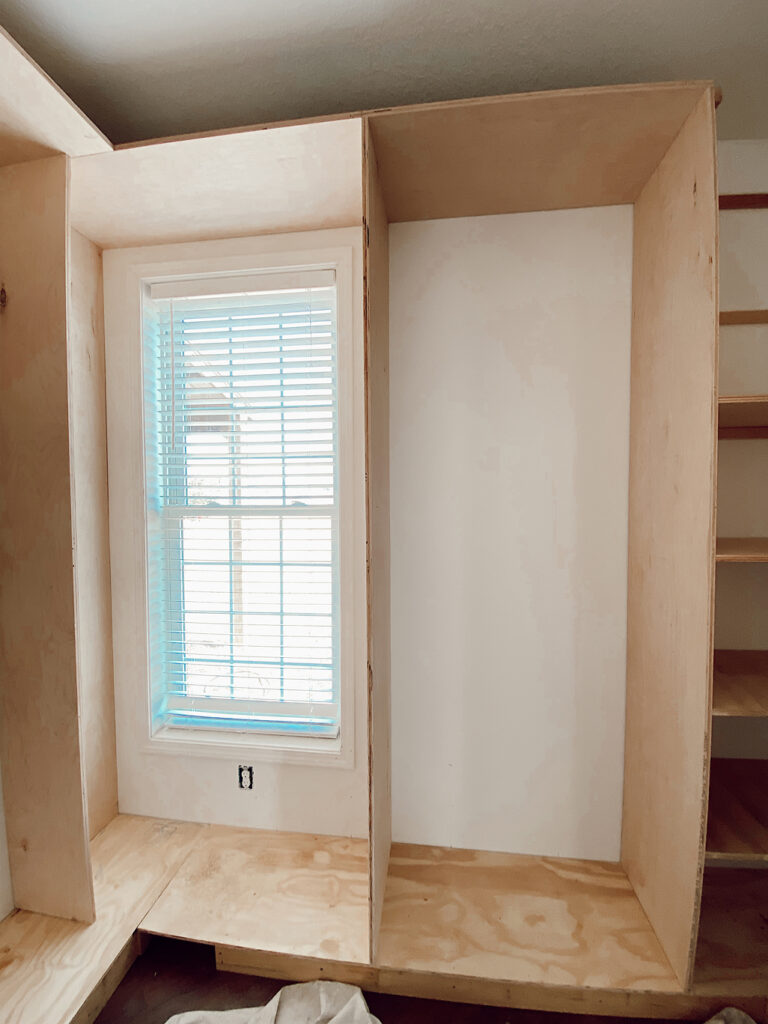
This is what it looked like prior to being painted. It was already so beautiful!! We had been dreaming of a closet like this for so long, and it was so exciting to see it finally come together. We decided to trim around the window and hang a rod there, so I could hang my long dresses in the corner, and we’d still have access to the window. I figured for the base I’d use that area for tall boot storage!
One of my favorite parts of the reno is how Michael framed in deep shelves on the other side of the door for storage of bags, towels, and sheets. The previous linen storage area was so terrible with the plastic shelf, and I was really looking forward to having this super functional area that made great use of that corner!

I had been debating on what paint color I wanted to use for the shelves. I at first thought maybe I’d do something super moody and dark, but after putting several paint samples up, and evaluating the space, I decided to go with a tried-and-true accent color that would bring some contrast but wouldn’t make the small space feel cramped. I had spent years with it looking dark and cramped, and I really wanted something that was going to look sophisticated, but also bright and open.
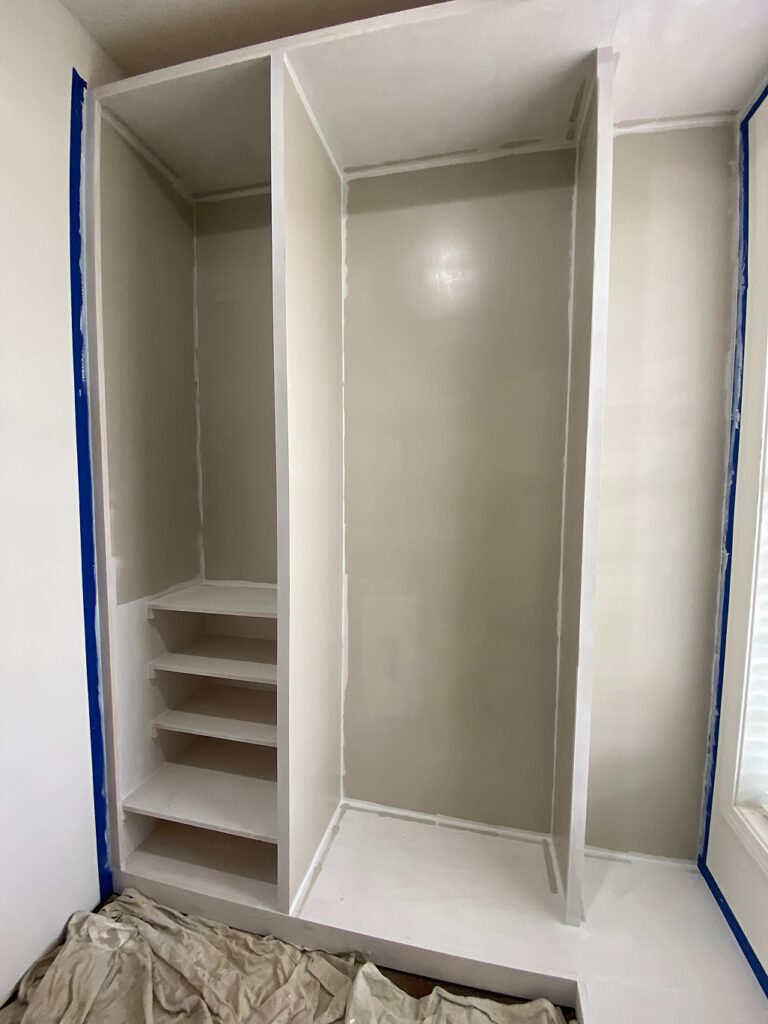
I decided to go with a neutral greige color that I see so many other bloggers use, but that I had yet to use in any project, Revere Pewter. I had it color matched in my favorite cabinet paint, Behr Urethane Alk Enamel in Satin.
When we built the boxes and shelves, we didn’t frame in the back, so I decided to paint the back wall the same color as the cabinets, so that when it was finished, it would look like it was completely framed in with the plywood.
I first primed the boxes with my favorite gripper primer, and then painted two coats of the Alk Enamel paint in the Revere Pewter color, then we hung the hardware, and it was finally ready to be put back together!
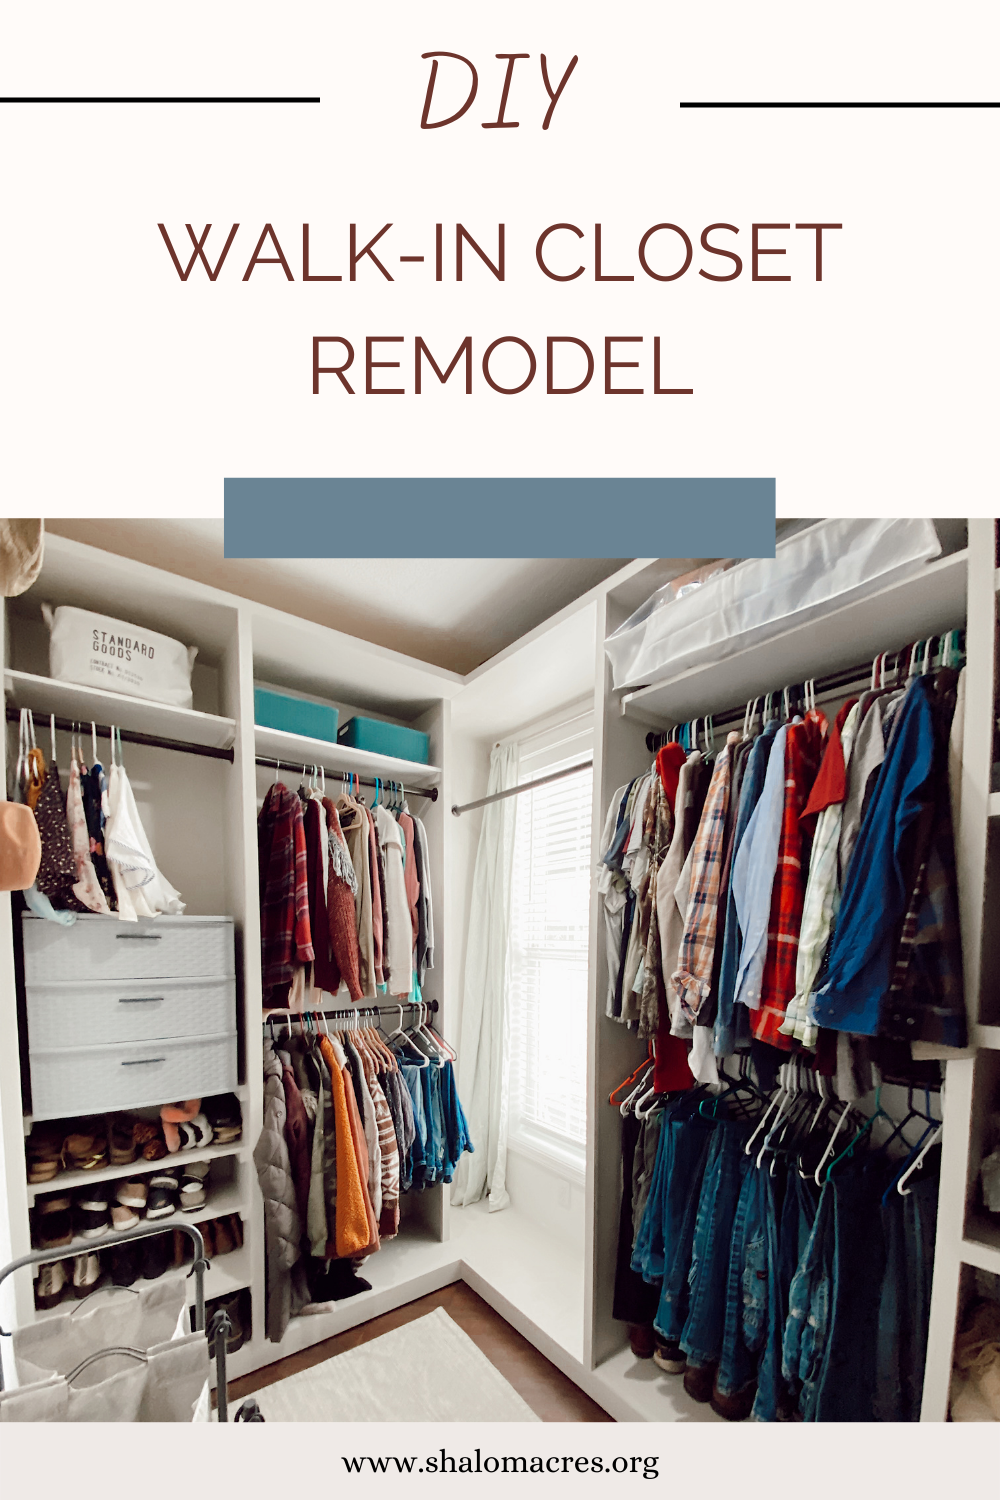
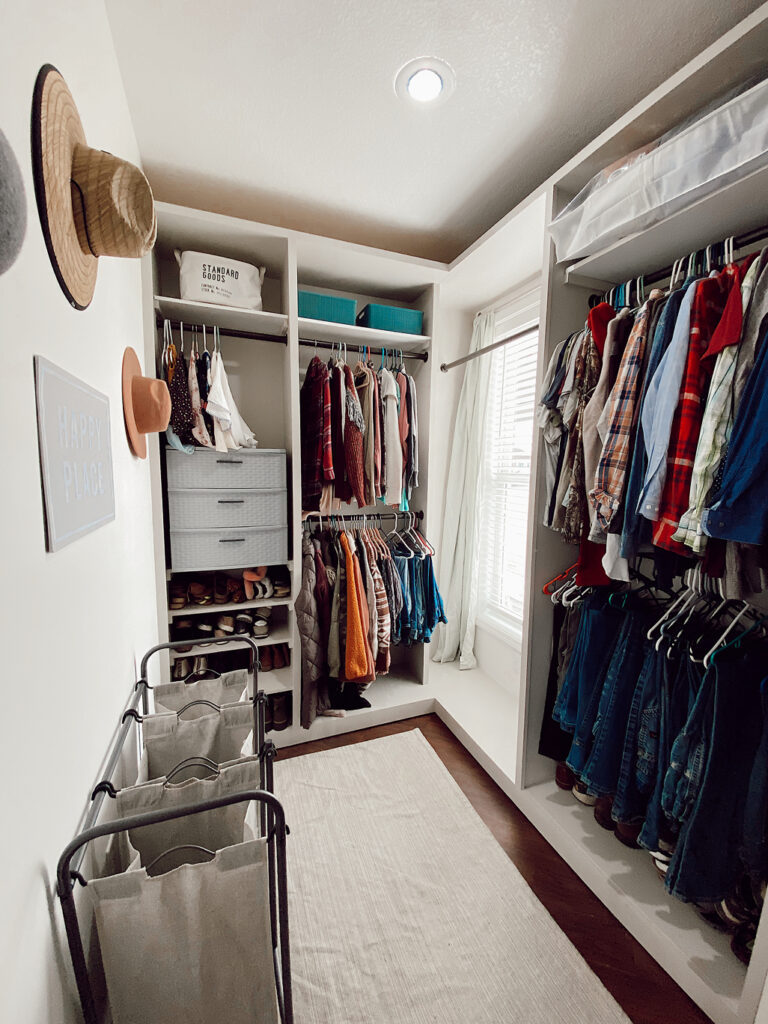
And here are the AFTER photos! What a HUGE difference. This closet was done on a minimal budget and combines function AND style! I am absolutely in love, and I feel like this space finally completes our home and our bathroom makeover that we did years ago! (Tap HERE to see our previous modern farmhouse bathroom makeover)
And one more side-by side look at where we were and how far we have come, because side by side comparisons are always my favorite!
Now THIS is a before and after I can get behind! Thank you for joining us once again for a fun DIY home makeover! Stay tuned for more and subscribe for all the Shalom Acres updates! You can shop any of the links below for items we used in the reno!
Until next time!!


