Our new Harvest Right Freeze Dryer. Set-up and surprising tips.
*The Shalom Acres blog is reader-supported. When you shop through links on our site, we may earn an affiliate commission at no additional cost to you.*
If you’re reading this, you may be in a similar situation as us a few months ago.. We had been researching ways to preserve our food for long-term storage, and had stumbled on the art of Freeze Drying at home! If you’re familiar with camping, hiking, and survival meals such as Mountain House Meals, Auguson Farms, or My Patriot Supply to name a few, you have encountered freeze dried food! Freeze drying is the way that these companies preserve their meals and foods. If done correctly, they can have around a 25 year shelf life, and they preserve more flavor, nutrients, and color than any other means of long-term food preservation.
Since my daughters and I have food allergies such as wheat and dairy, (I have celiac disease) I was trying to find meals that I could purchase that looked healthy and also were allergen friendly. If you’ve ever searched for ready – made freeze dried food, you know how difficult it is to find delicious food that’s not only allergen friendly, but that also has quality ingredients without tons of fillers and nasty additives. It’s nearly impossible, so we decided to purchase an at home freeze dryer from Harvest Right home freeze dryers and supplies!

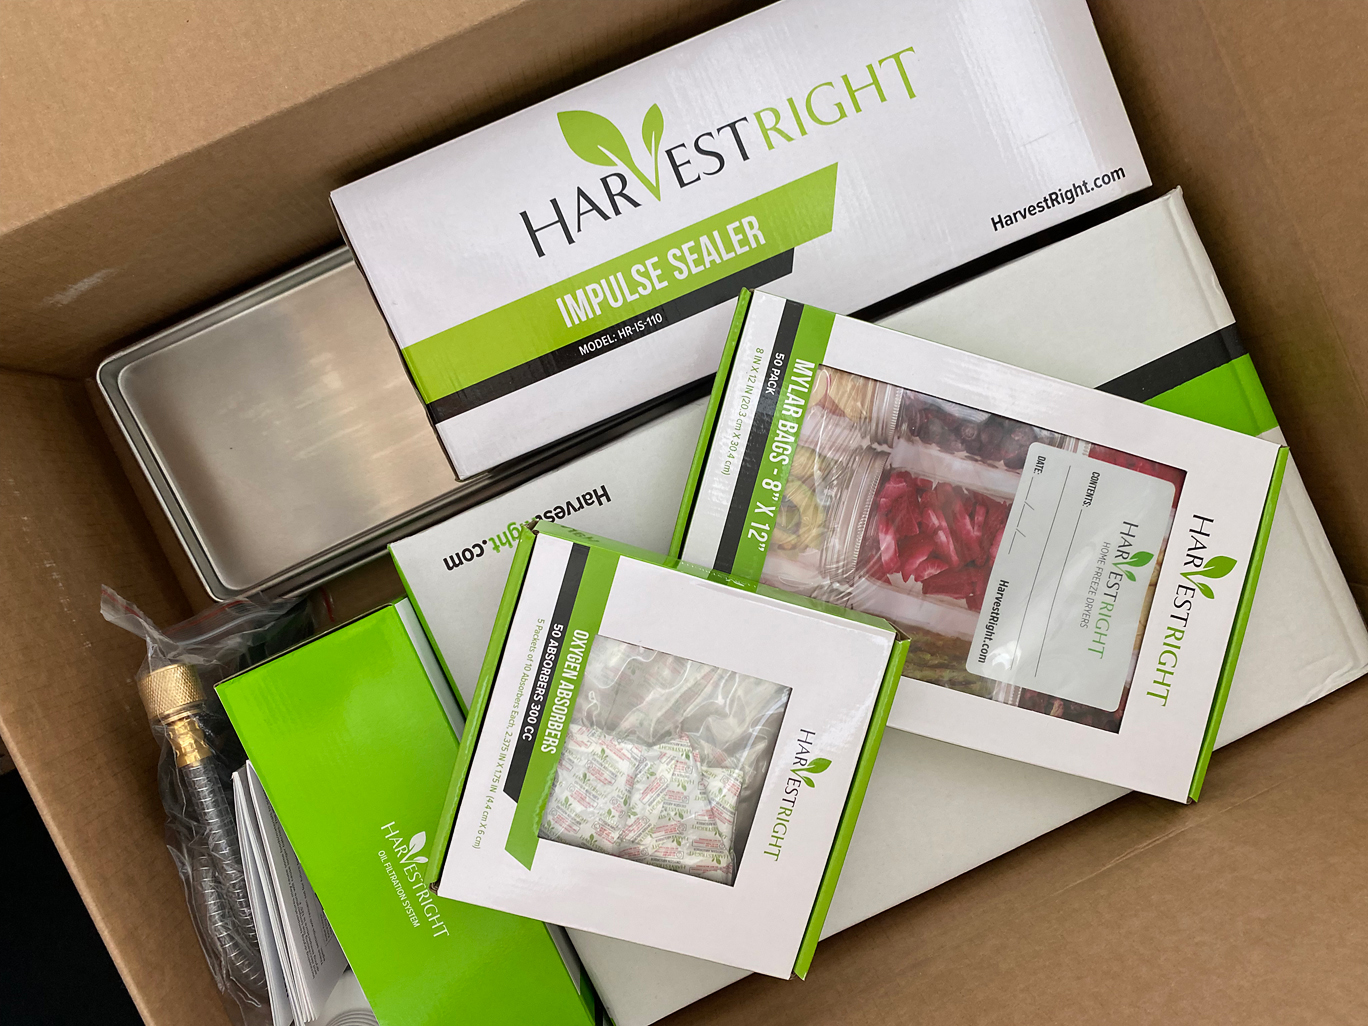
We found a local hardware store that had one in stock, and we purchased it and brought it home! Set-up was easy, just make sure that you read the manual and follow the directions EXACTLY when getting your machine up and going! I found a ton of helpful information from the Retired at 40’s Youtube channel. He’s been freeze drying for years with Harvest Right freeze dryers, and has such a huge amount of information!
So back to our set-up. We purchased the black medium size freeze dryer and the one we purchased came with their standard pump. But, if you order online from their site right now, you can get the upgraded premier pump for free and free shipping, which is a much better deal in my opinion! The better pumps make a ton of difference, and I wish I knew that ours came with the basic pump before we purchased ours.
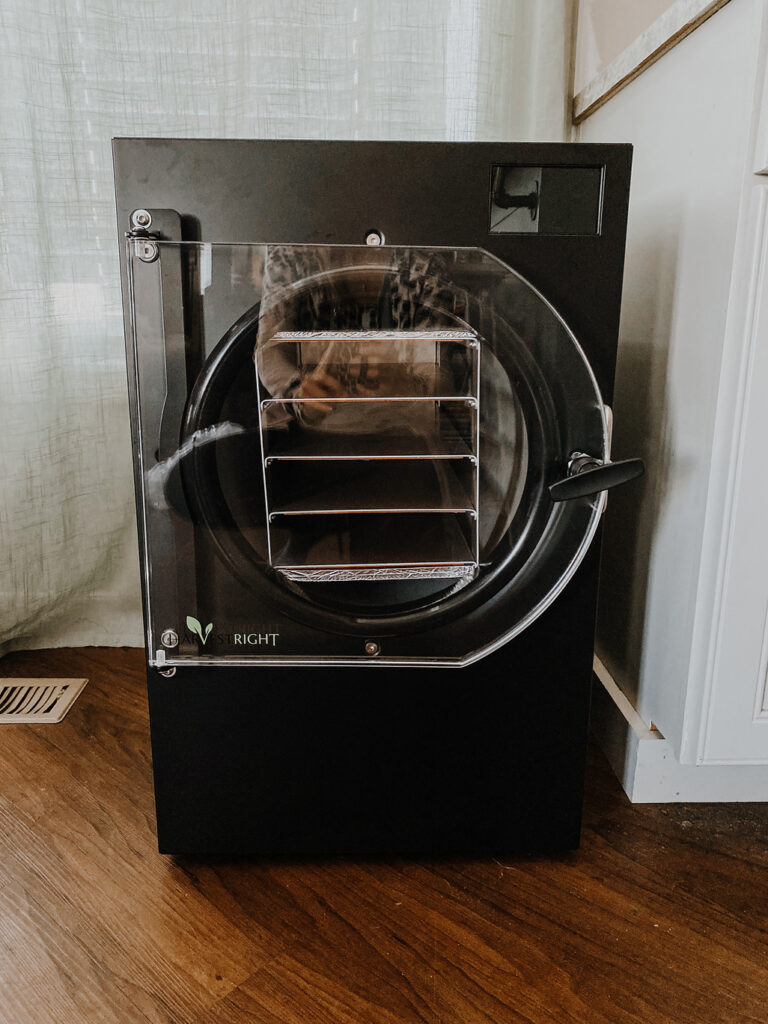
We first put our freeze dryer on the floor next to the kitchen, and this is something I DONT recommend doing. It’s nice to have it next to the kitchen, but the freeze dryer pump is very noisy, and in my opinion, it was just much too loud to have in our main living space. We moved it to the office/school room and with the door closed, it eliminated almost all of the noise in our main living areas!
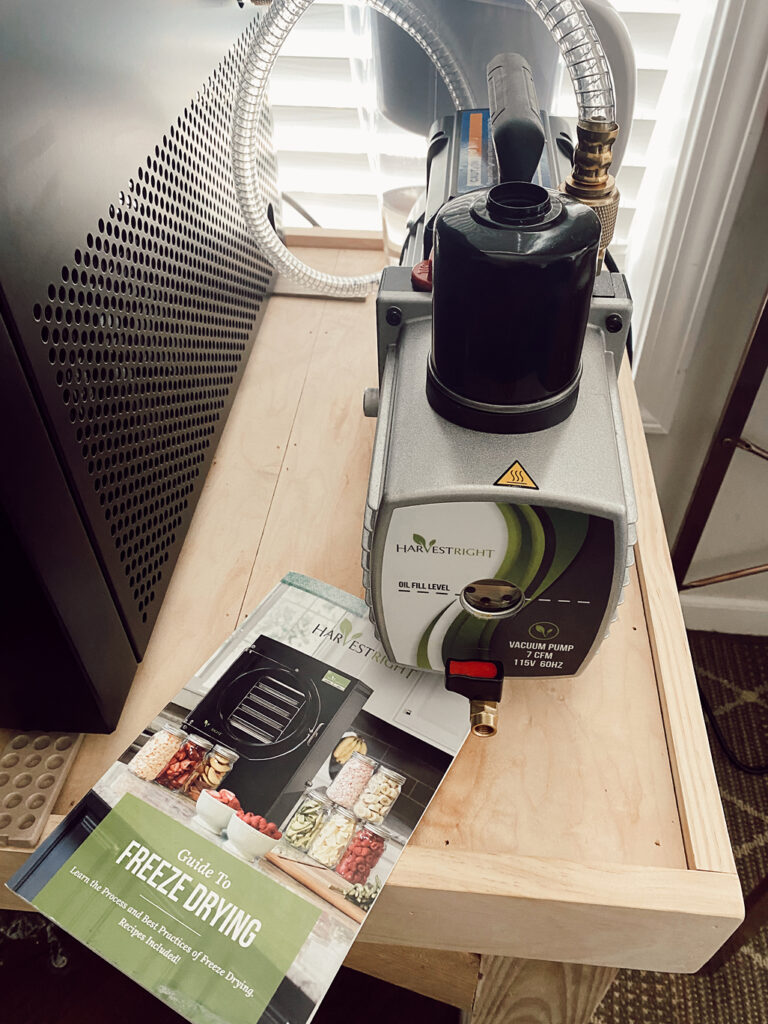
The next thing we did that needed to be corrected, is that we put the dryer and pump on the floor, and it really needs to be elevated in order to drain properly between batches. It was almost impossible to drain properly the first couple of batches we ran, and I ended up having to drain it onto a towel on the floor, and it was just a mess!
So, after realizing the floor was NOT going to work, Michael built a custom table for the dryer and the pump out of scrap wood we had laying around, and it’s made ALL the difference!
Some people I’ve seen use heavy duty utility carts, food service tables, or even tool carts. I’ve linked a few below, but make sure before purchasing that it’s the correct size for your freeze dryer and can handle adequate weight.

Now with the table, it’s so much easier to load food into the dryer, and the drain bucket is on the floor and can drain easily after the machine has defrosted.
I also had seen on multiple other freeze dryer channels that they use two automotive Y fittings in the drain tube to prevent water siphoning back INTO your freshly dried food when you open the vent after a batch has finished drying. The best thing to do is to empty the bucket every time, but sometimes it’s easy to forget that part, and if water gets back into your freeze-dried food, it’s essentially ruined, and you have to start the freeze-drying process all over again. This was a simple preventative method, so we just found some of the Y fittings and installed them. I found these on Ebay, and searched for “3/8″ barbed Y fittings”. You can find them in plastic as well, just make sure that the barbs are 3/8″ and always use two. One won’t be enough to prevent the siphoning.


I hope this has helped you if you’re looking at purchasing a Harvest Right freeze dryer to freeze dry and preserve your own food! See below for a link to the next post in this series outlining the first gluten and dairy free freeze-dried recipes I tried, and how they worked out!
If this has helped you decide to make the dive into the freeze drying world, I’d love it if you’d show your support by shopping my affiliate links to purchase your home freeze dryer or accessories. Let me know in the comments below how you set up your freeze dryer. I’d love to hear all about it!
Until next time!

Check out the next post in my freeze dryer series – My first gluten and dairy free freeze dried meals!
Shop this Post